With MenuSano, you can make your own nutrition labels quickly and easily in-house. It's a nutrition analysis tool that allows foodservice providers to create and download printable nutrition facts labels at 300dpi, in JPG or PDF format.
First, export your label in JPG format. For instructions on how to do this, just click on this article or watch this video.
There are various ways to resize your high-resolution nutrition facts labels.
1. Microsoft Word
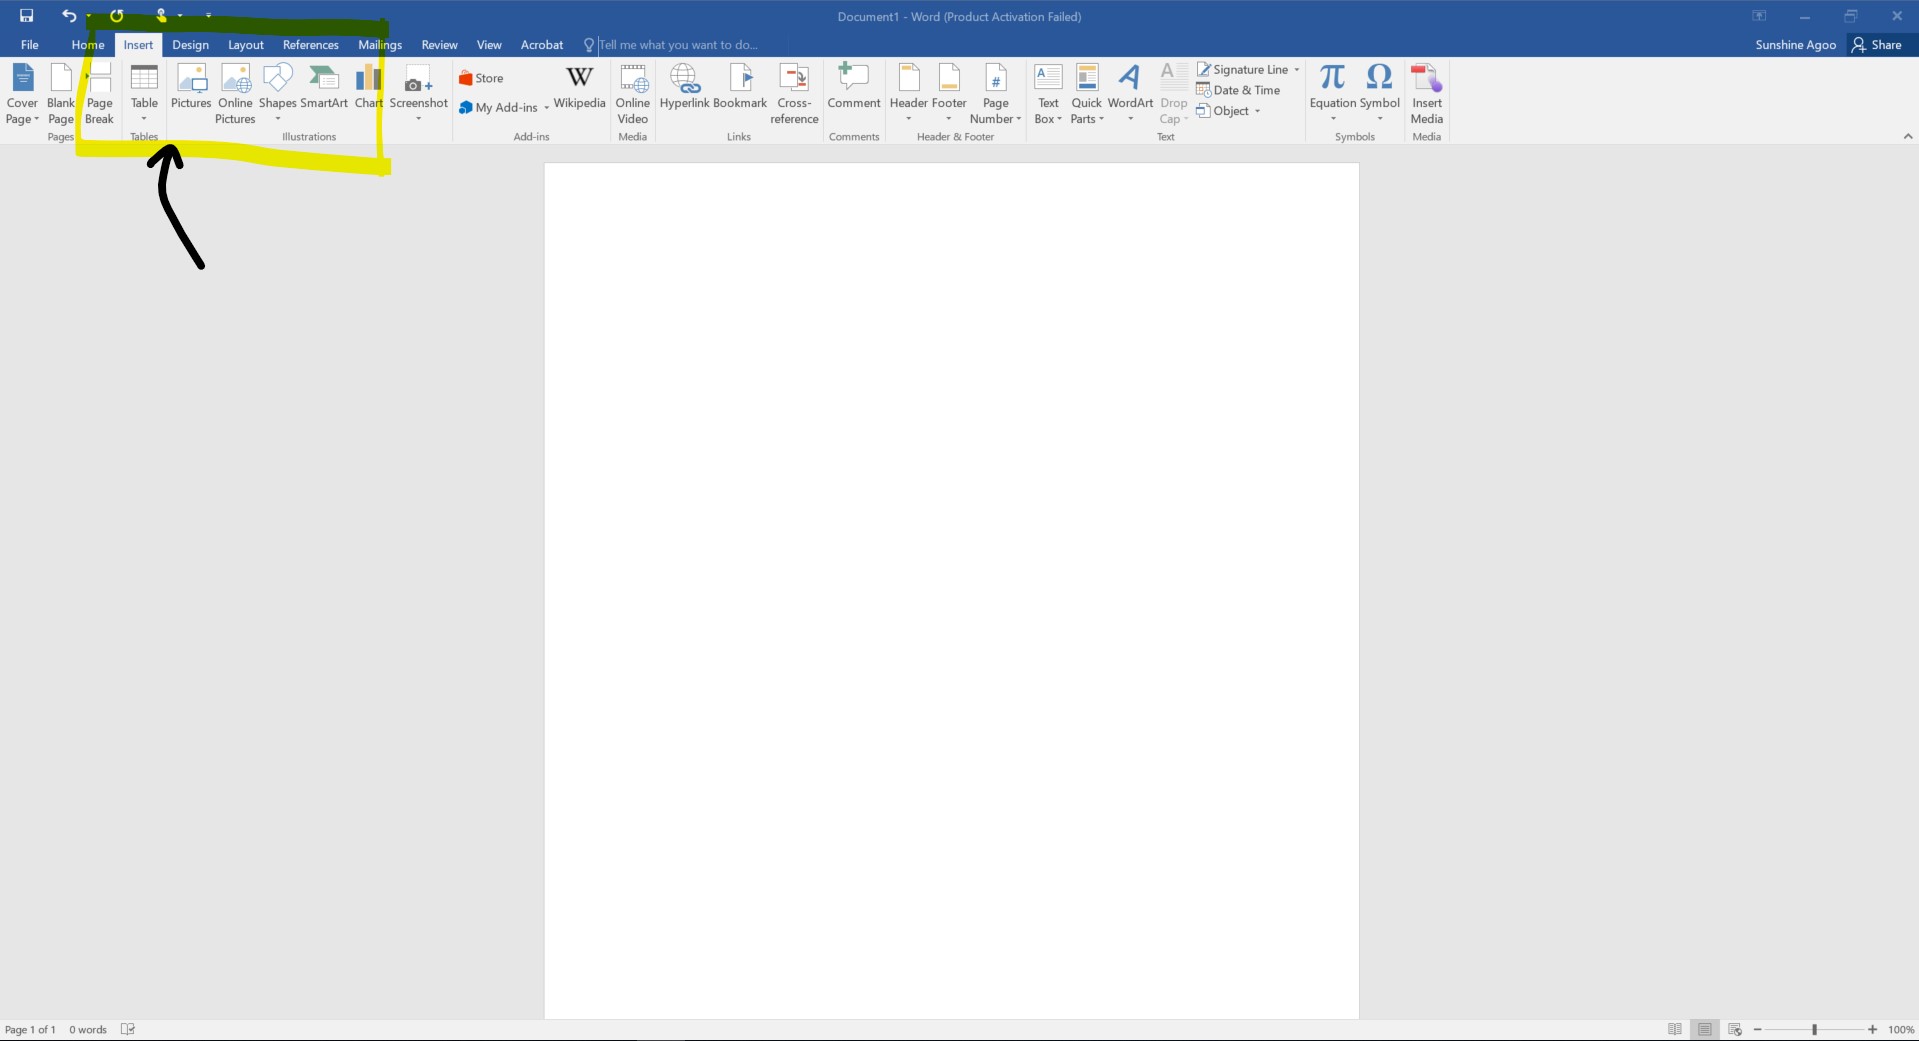
- Click on the 'Insert' Tab and choose the 'Pictures' option.
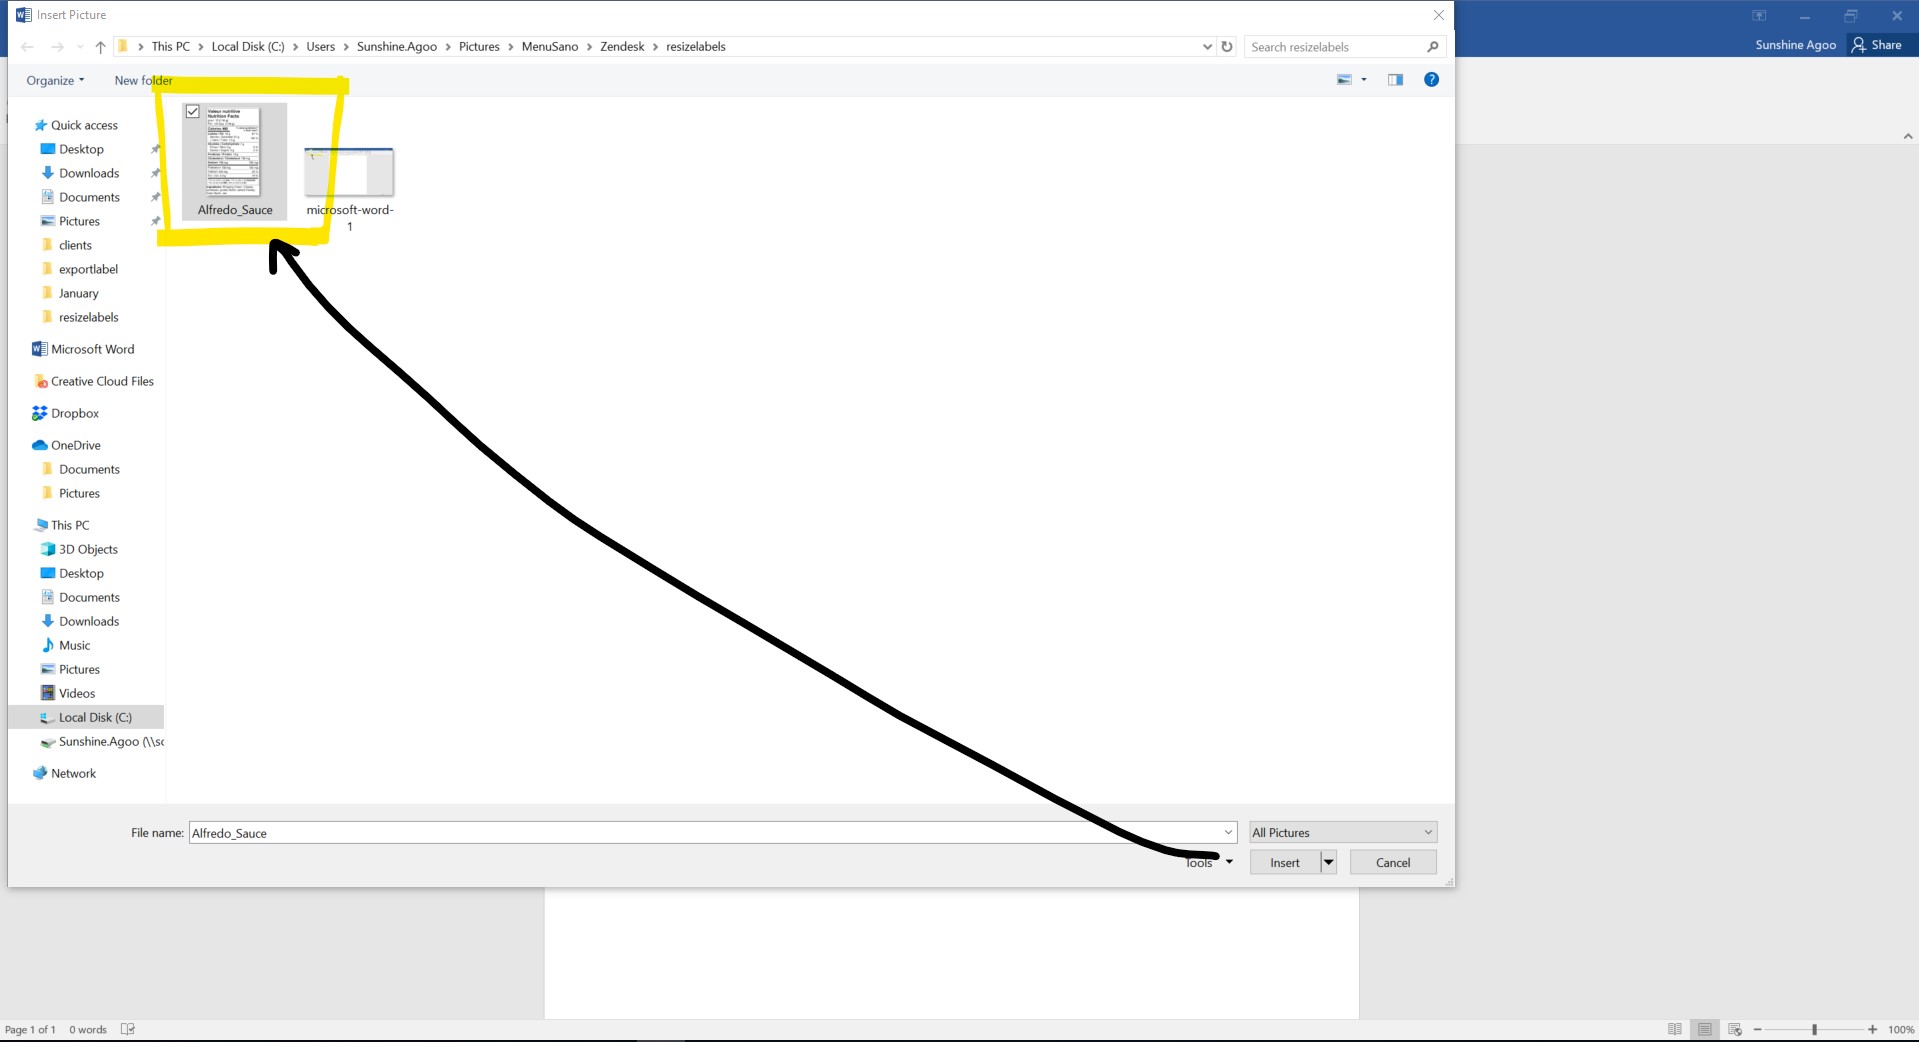
- Find your nutrition facts label and click 'Insert'.
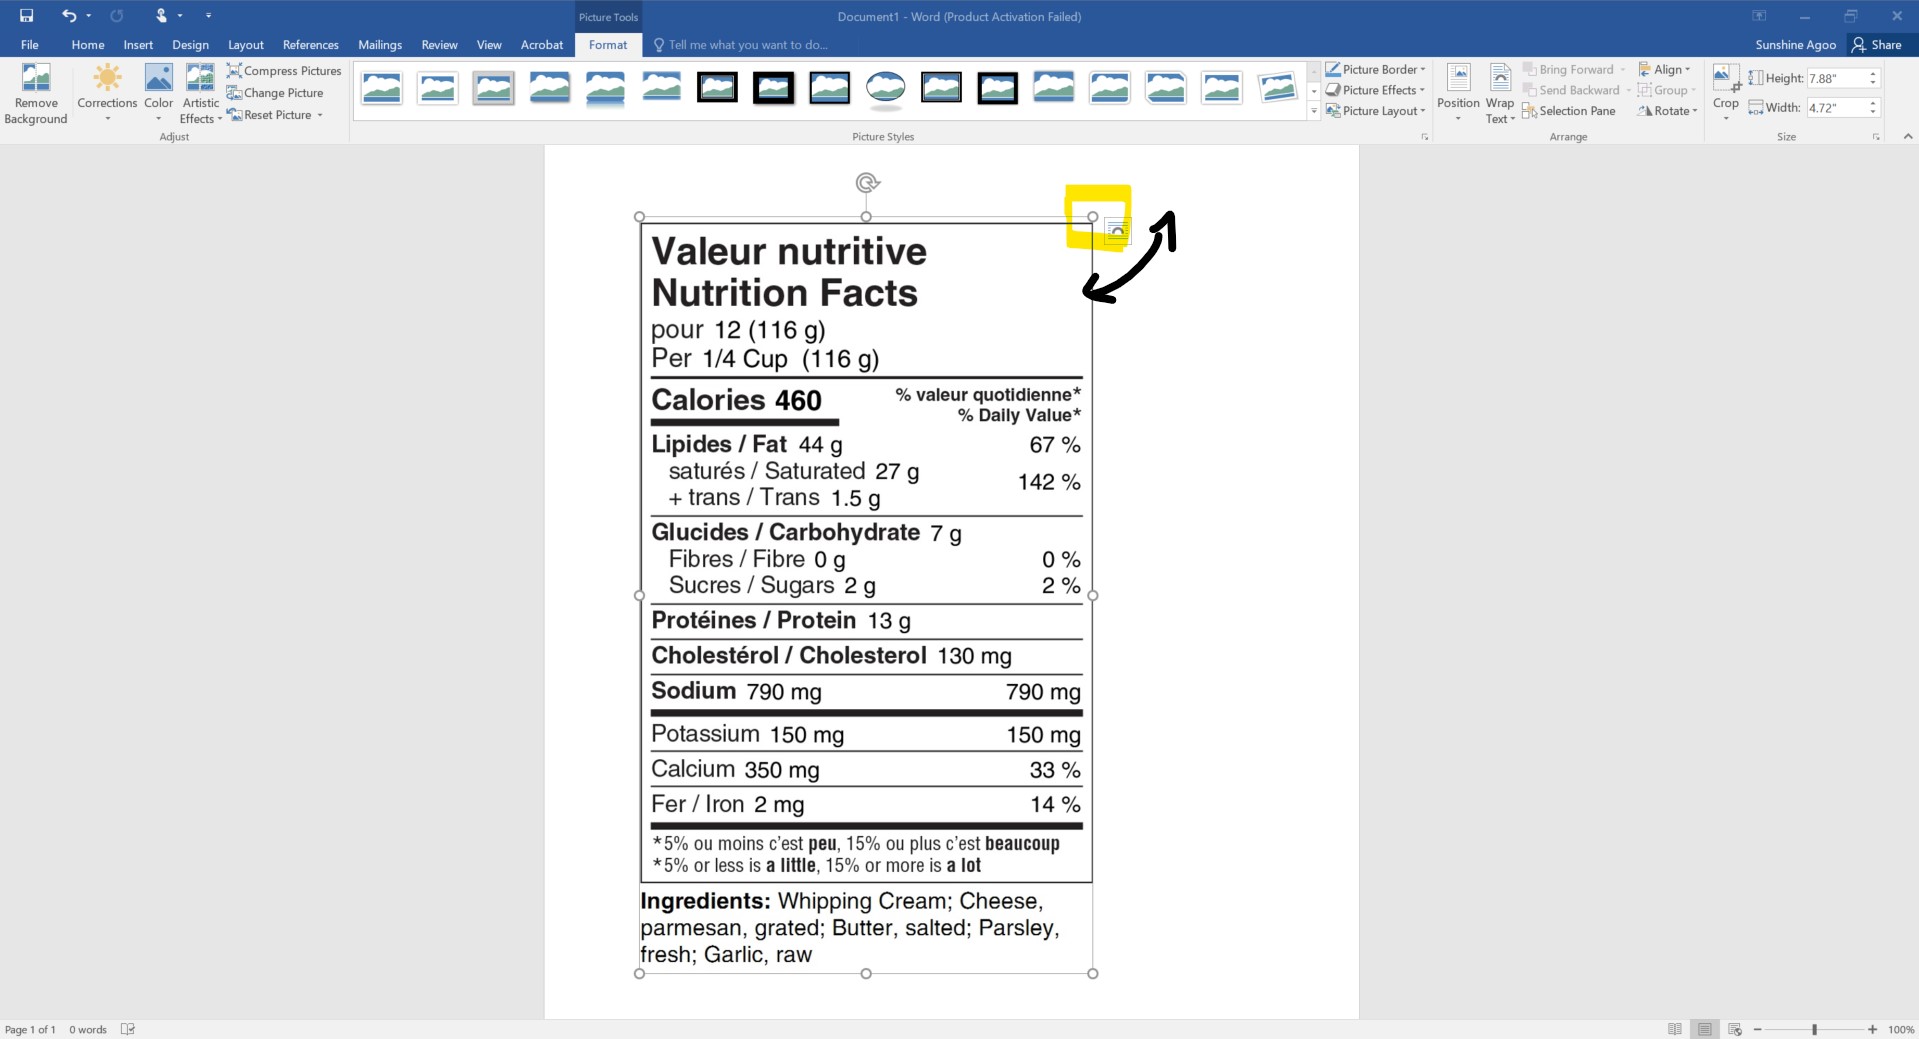
- You can resize your image in 2 different ways. You can click on one of the four corners of your label and drag your cursor up or down diagonally. This will allow your image to resize proportionately.
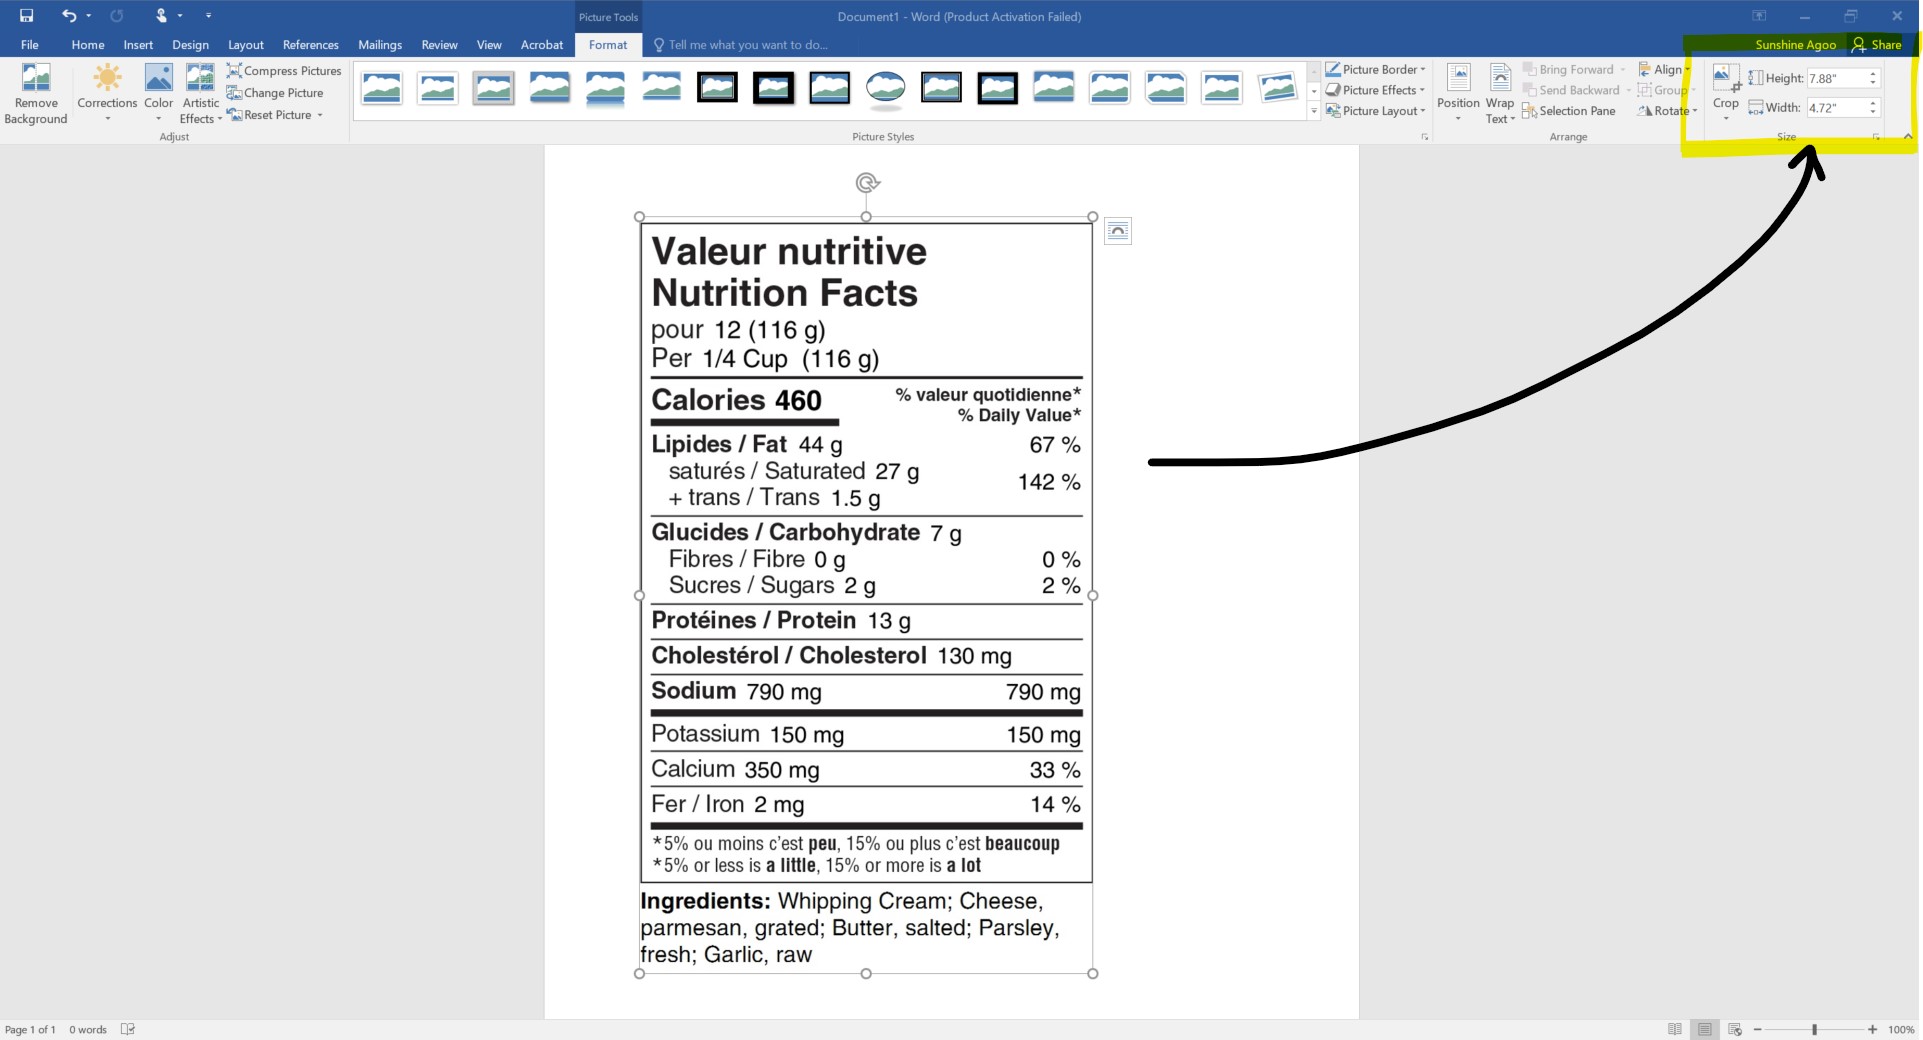
- Or you can accurately change the size in inches under the 'Format' tab on the right-hand side of your Word file. If you've made a mistake, just hold down CTRL+Z and Microsoft Word will undo your last action.
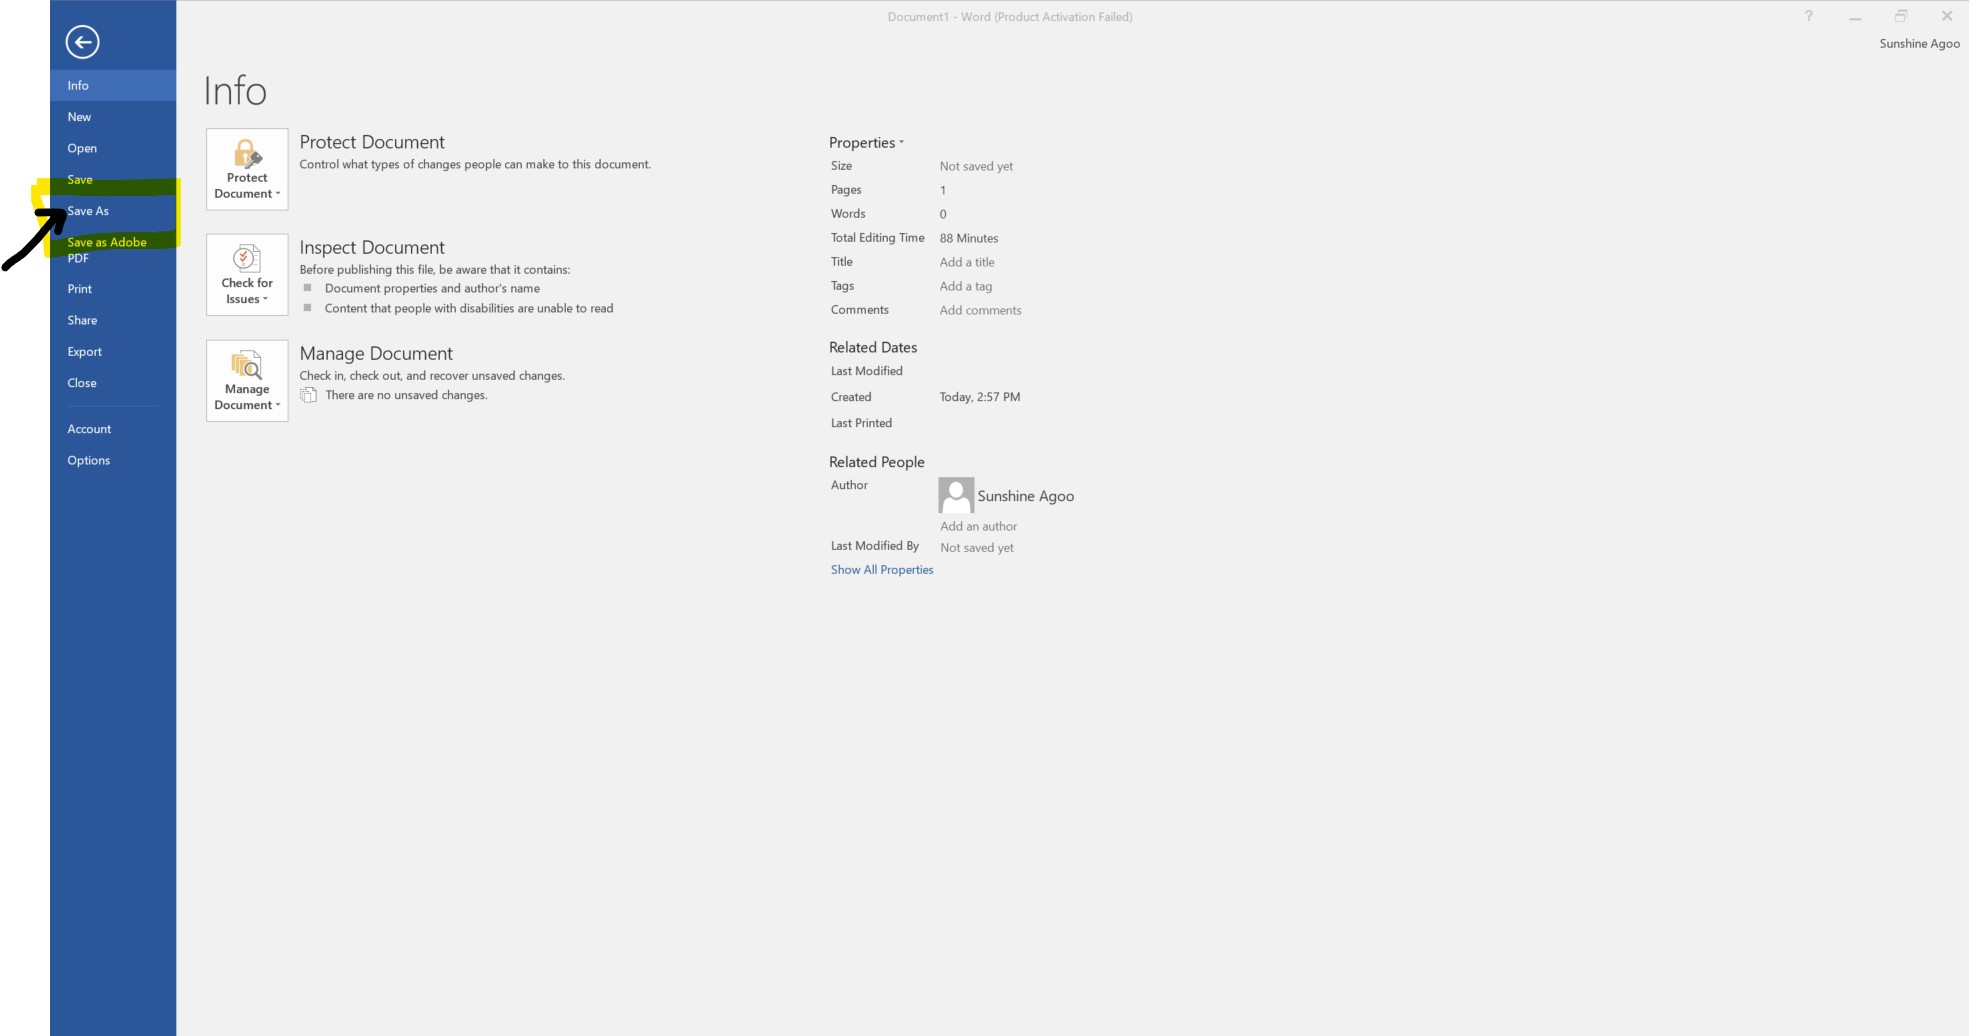
- Click on 'File', then 'Save As' and choose a folder to save your label in.
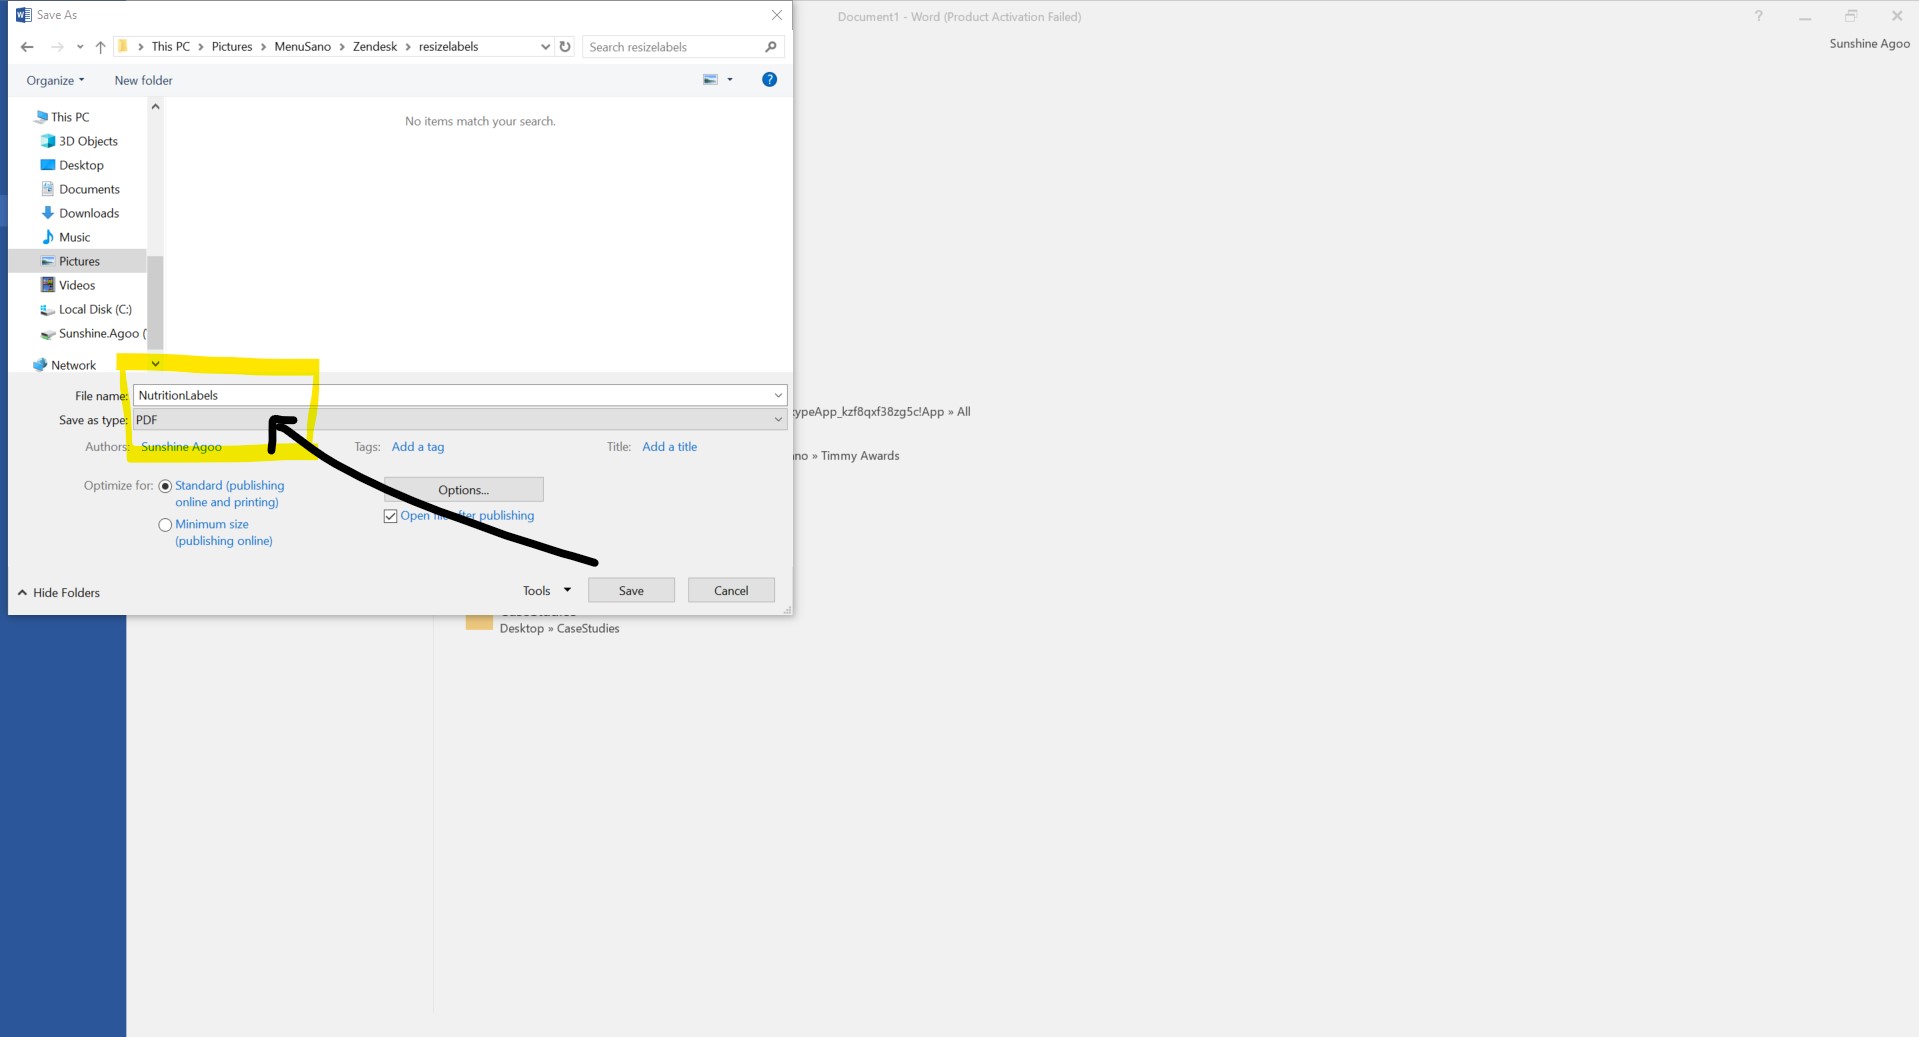
- You can rename your file, as well as change its Type. For example, you can choose PDF in the drop-down option.
2. Microsoft Paint
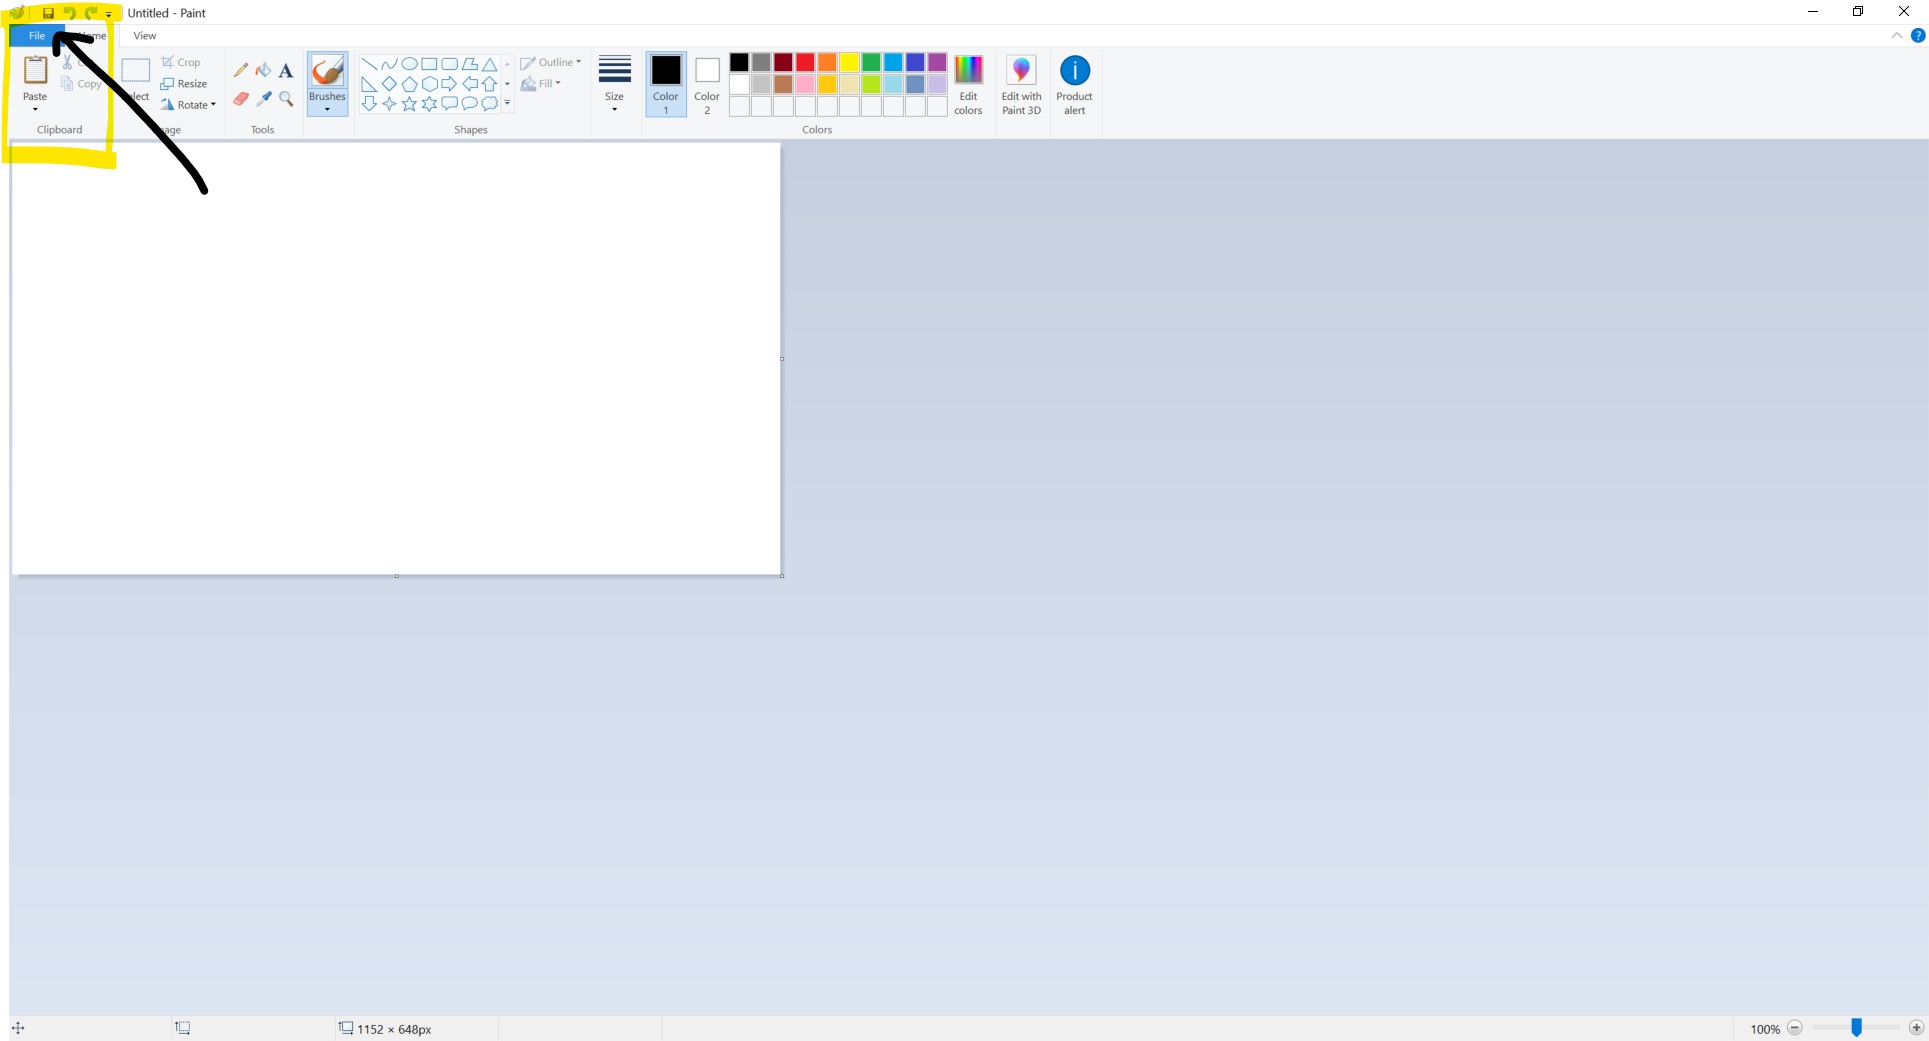
- Click on 'File' then choose 'Open' from the drop-down menu.
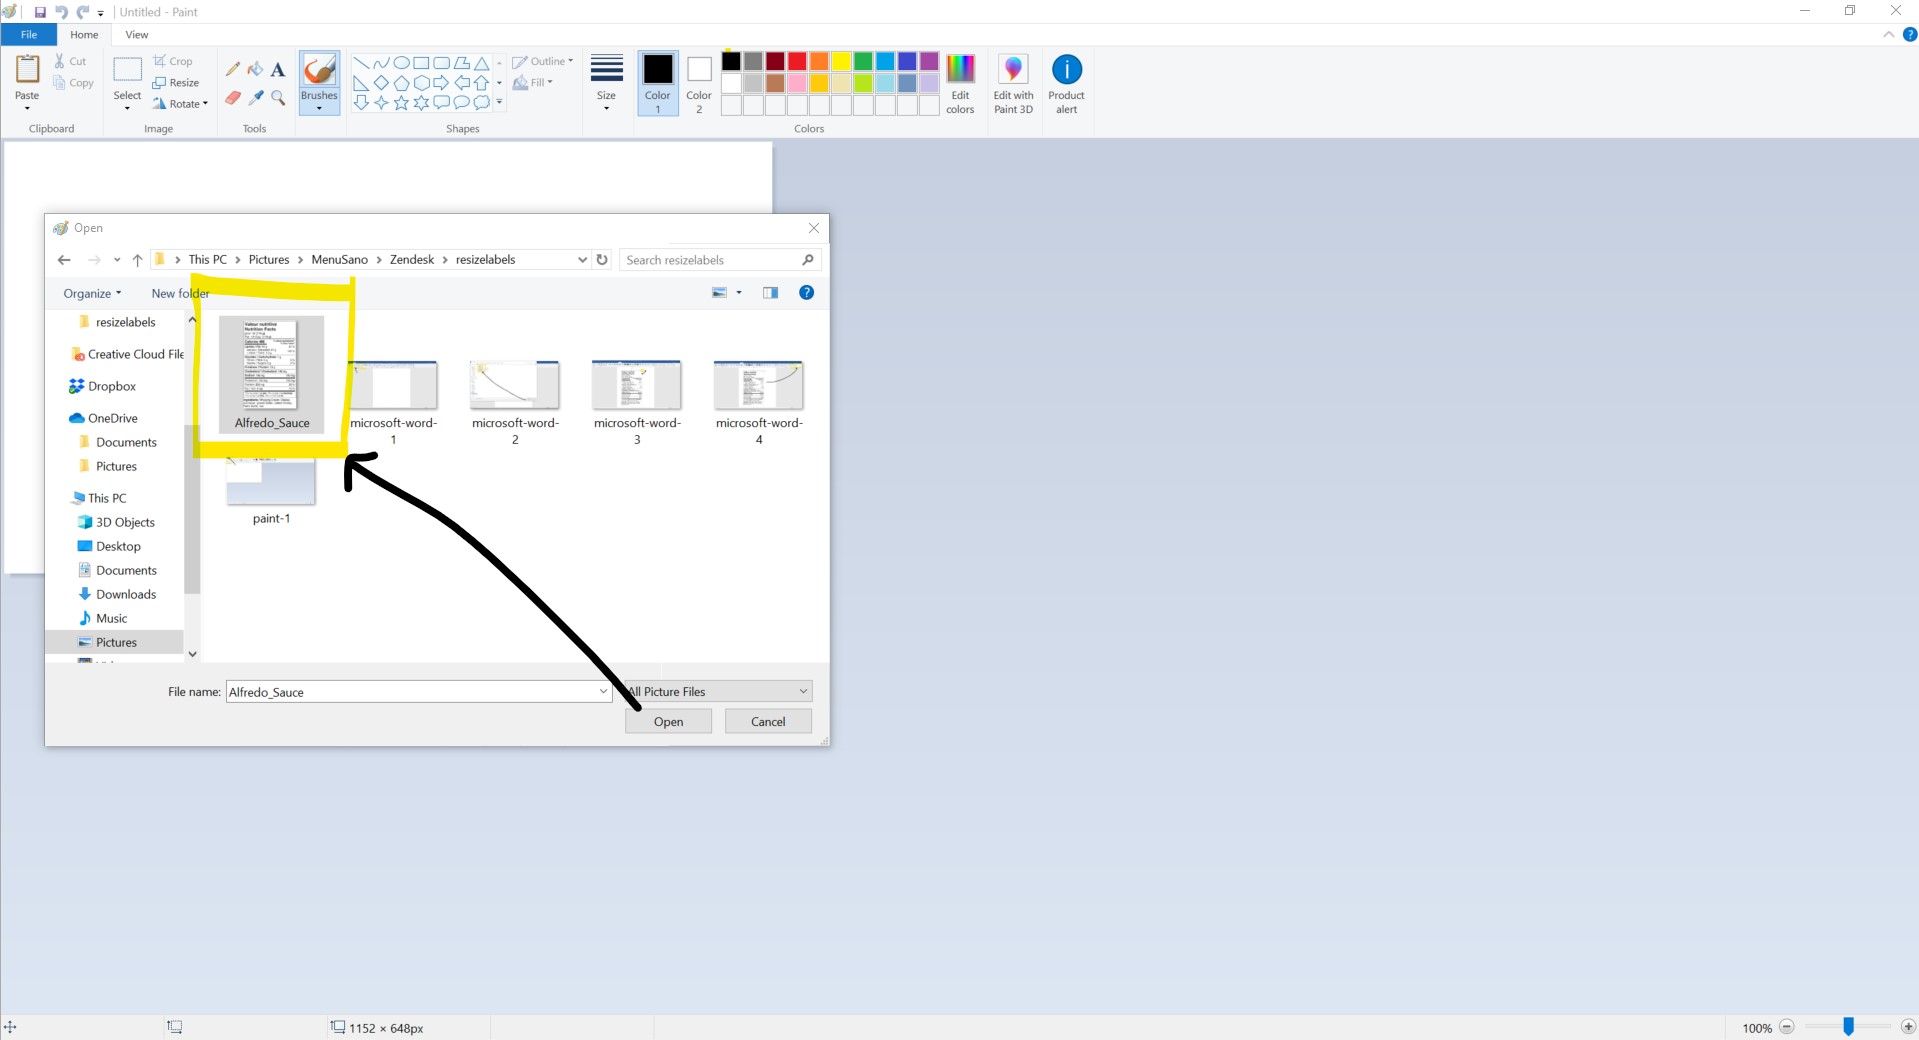
- Find your nutrition facts label and click 'Open' or simply double-click on your image.
- Click 'Resize'.
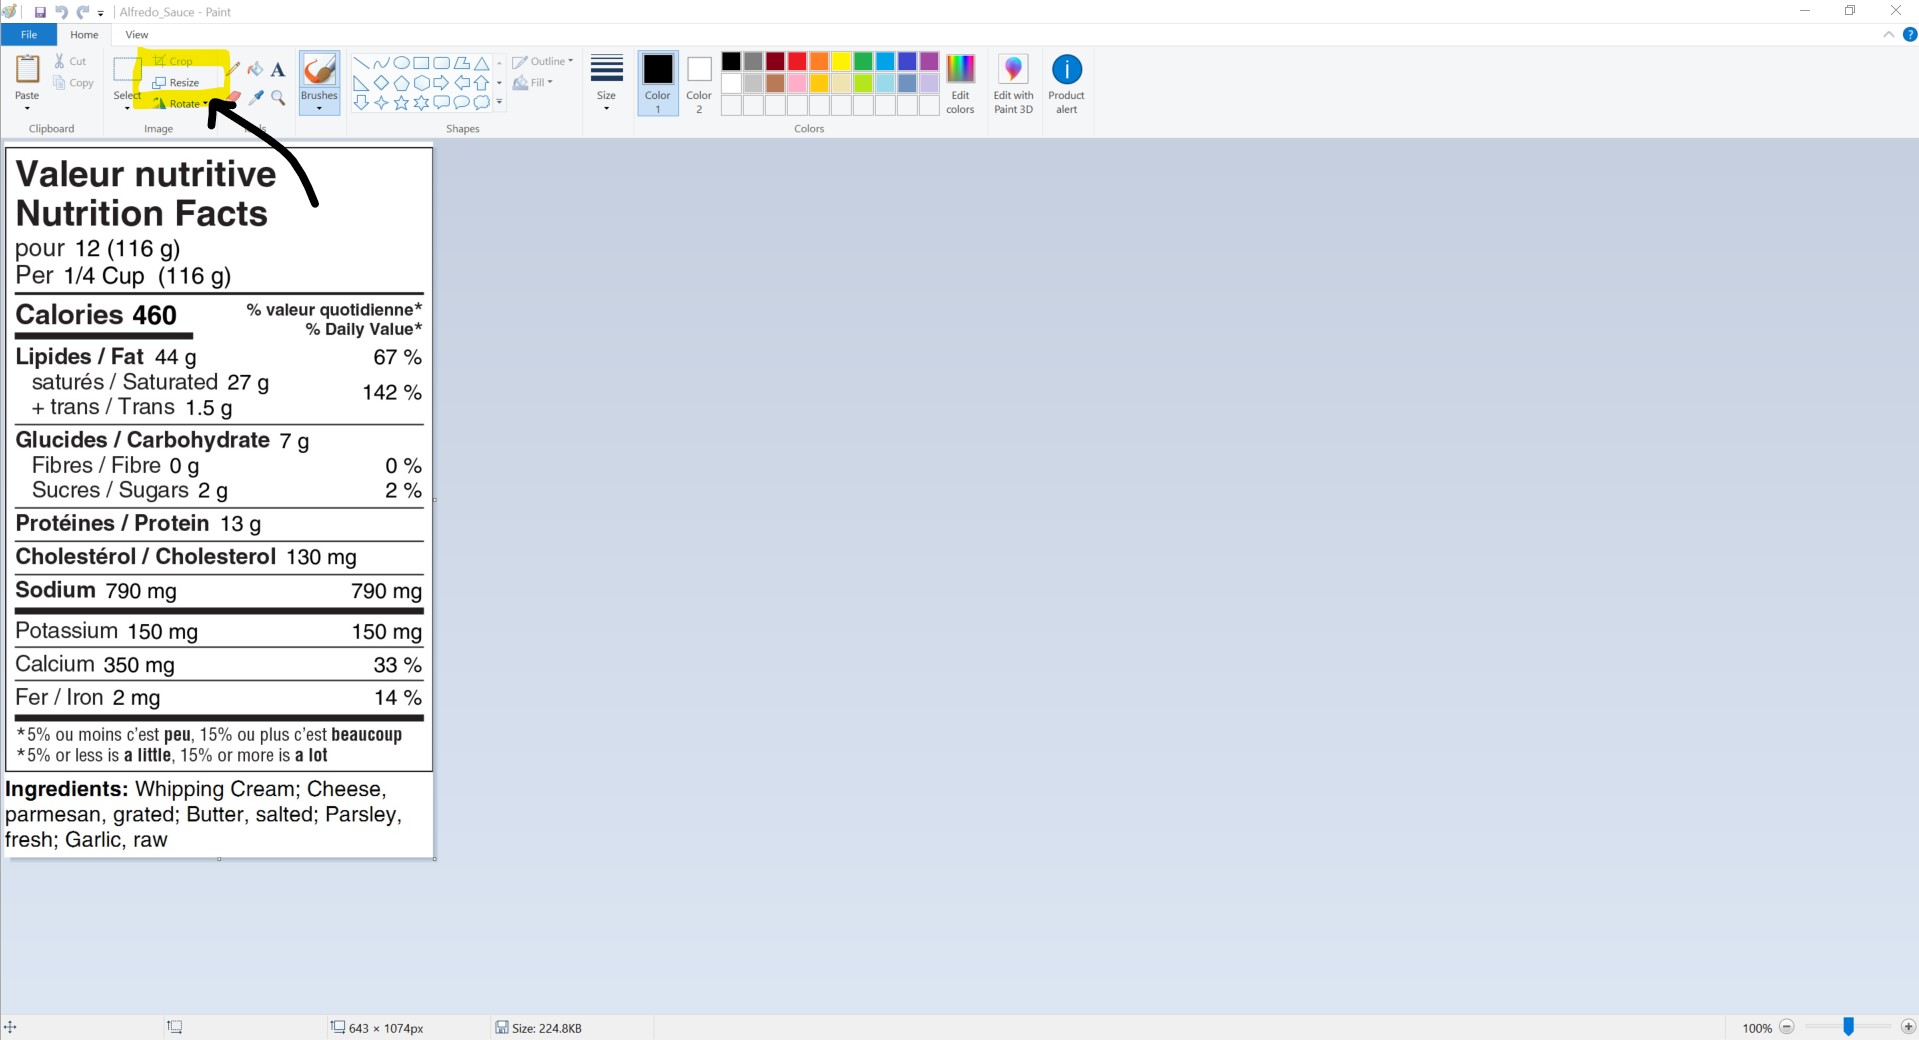
- You can resize your label by 'Percentage' or by 'Pixels'. Just change the values in the Input boxes and click 'Ok'.
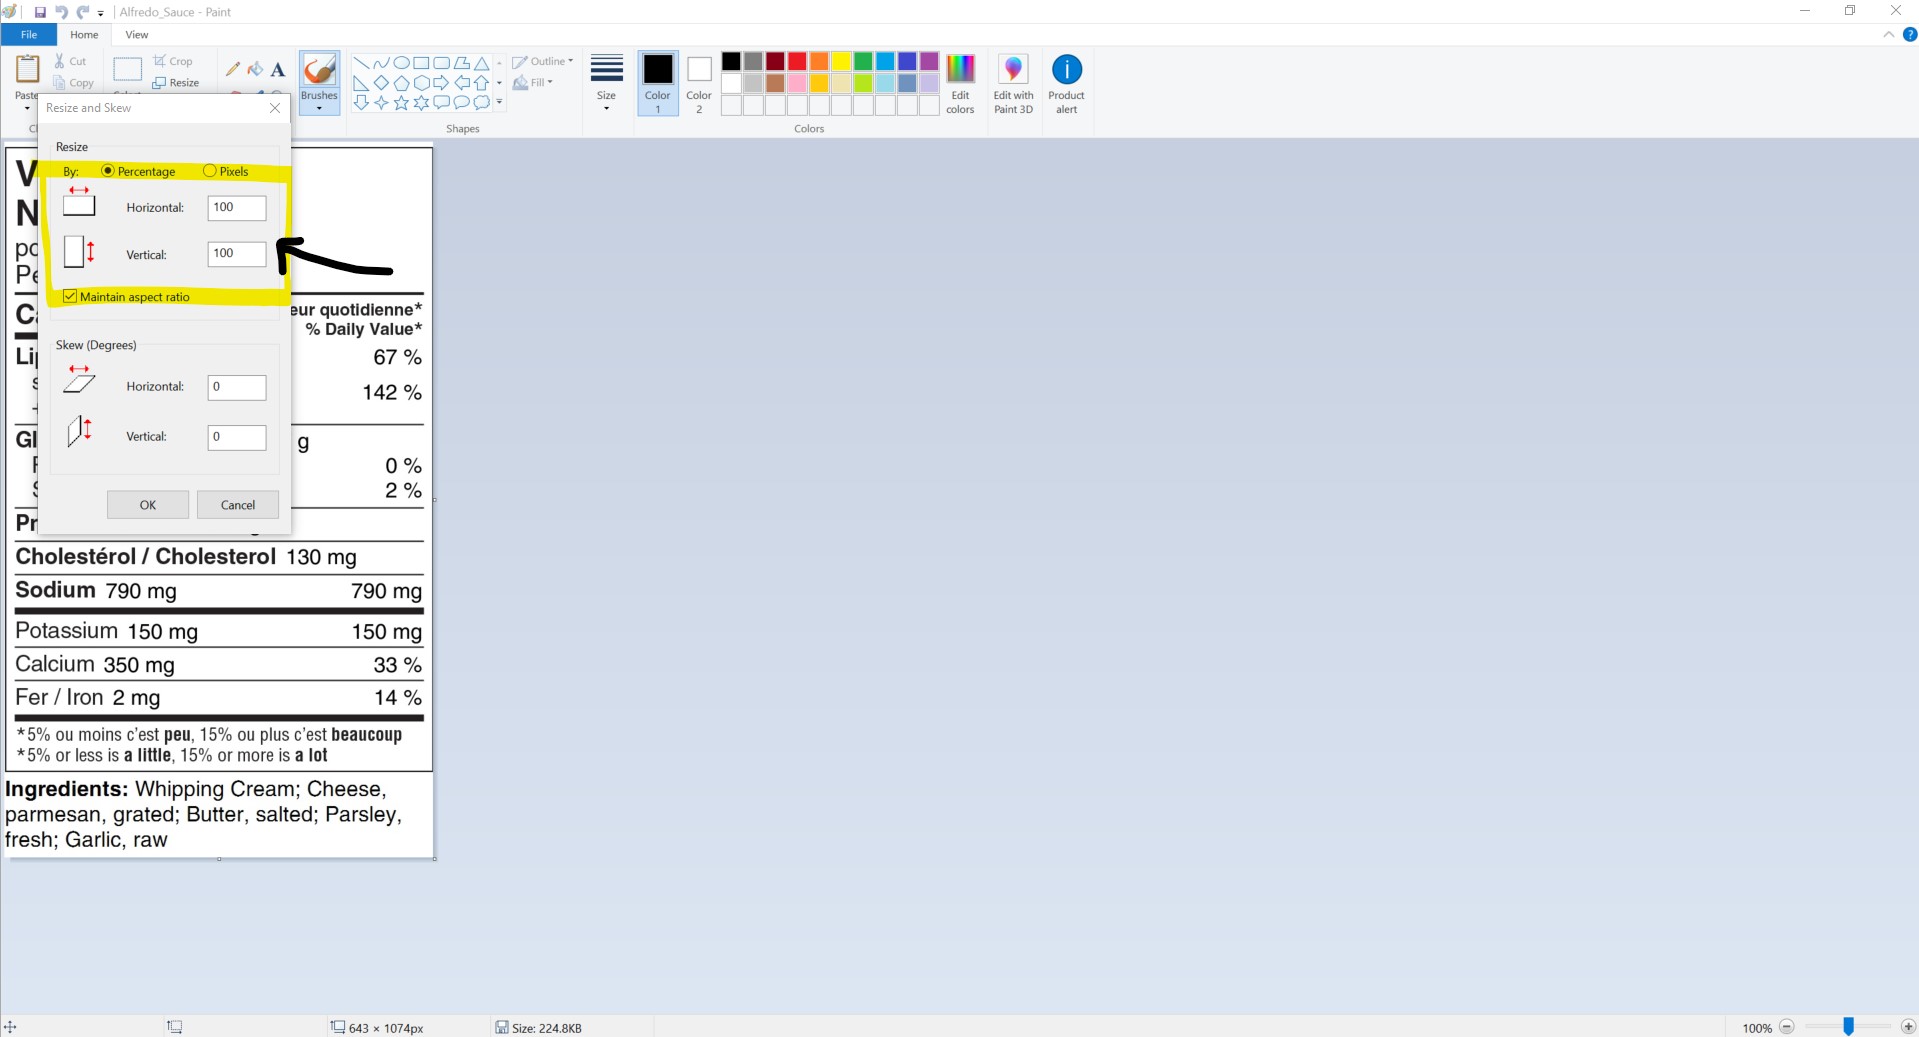
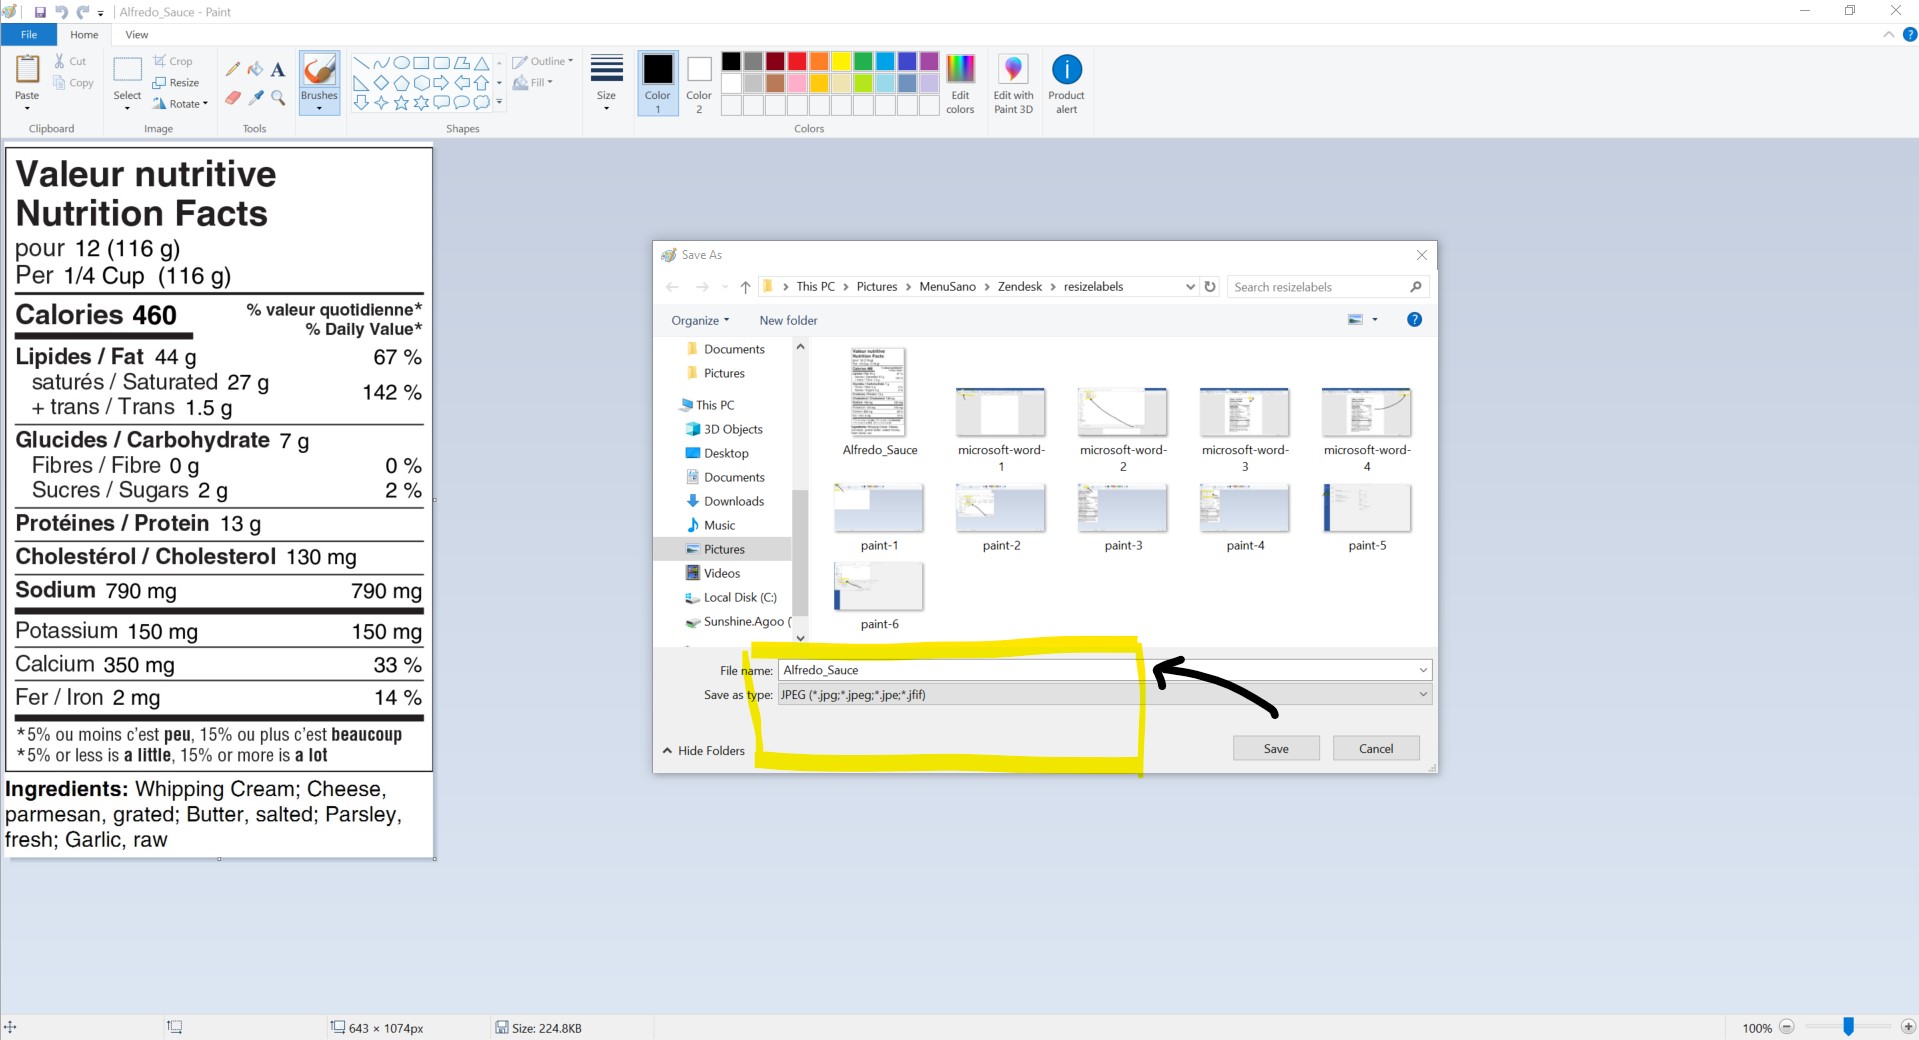
- To save your label, just click on 'File', then 'Save As', and choose the type of format you want to save your label in. For example, you can save your label as a JPEG or PNG. Then click 'Save'.
3. Adobe Photoshop
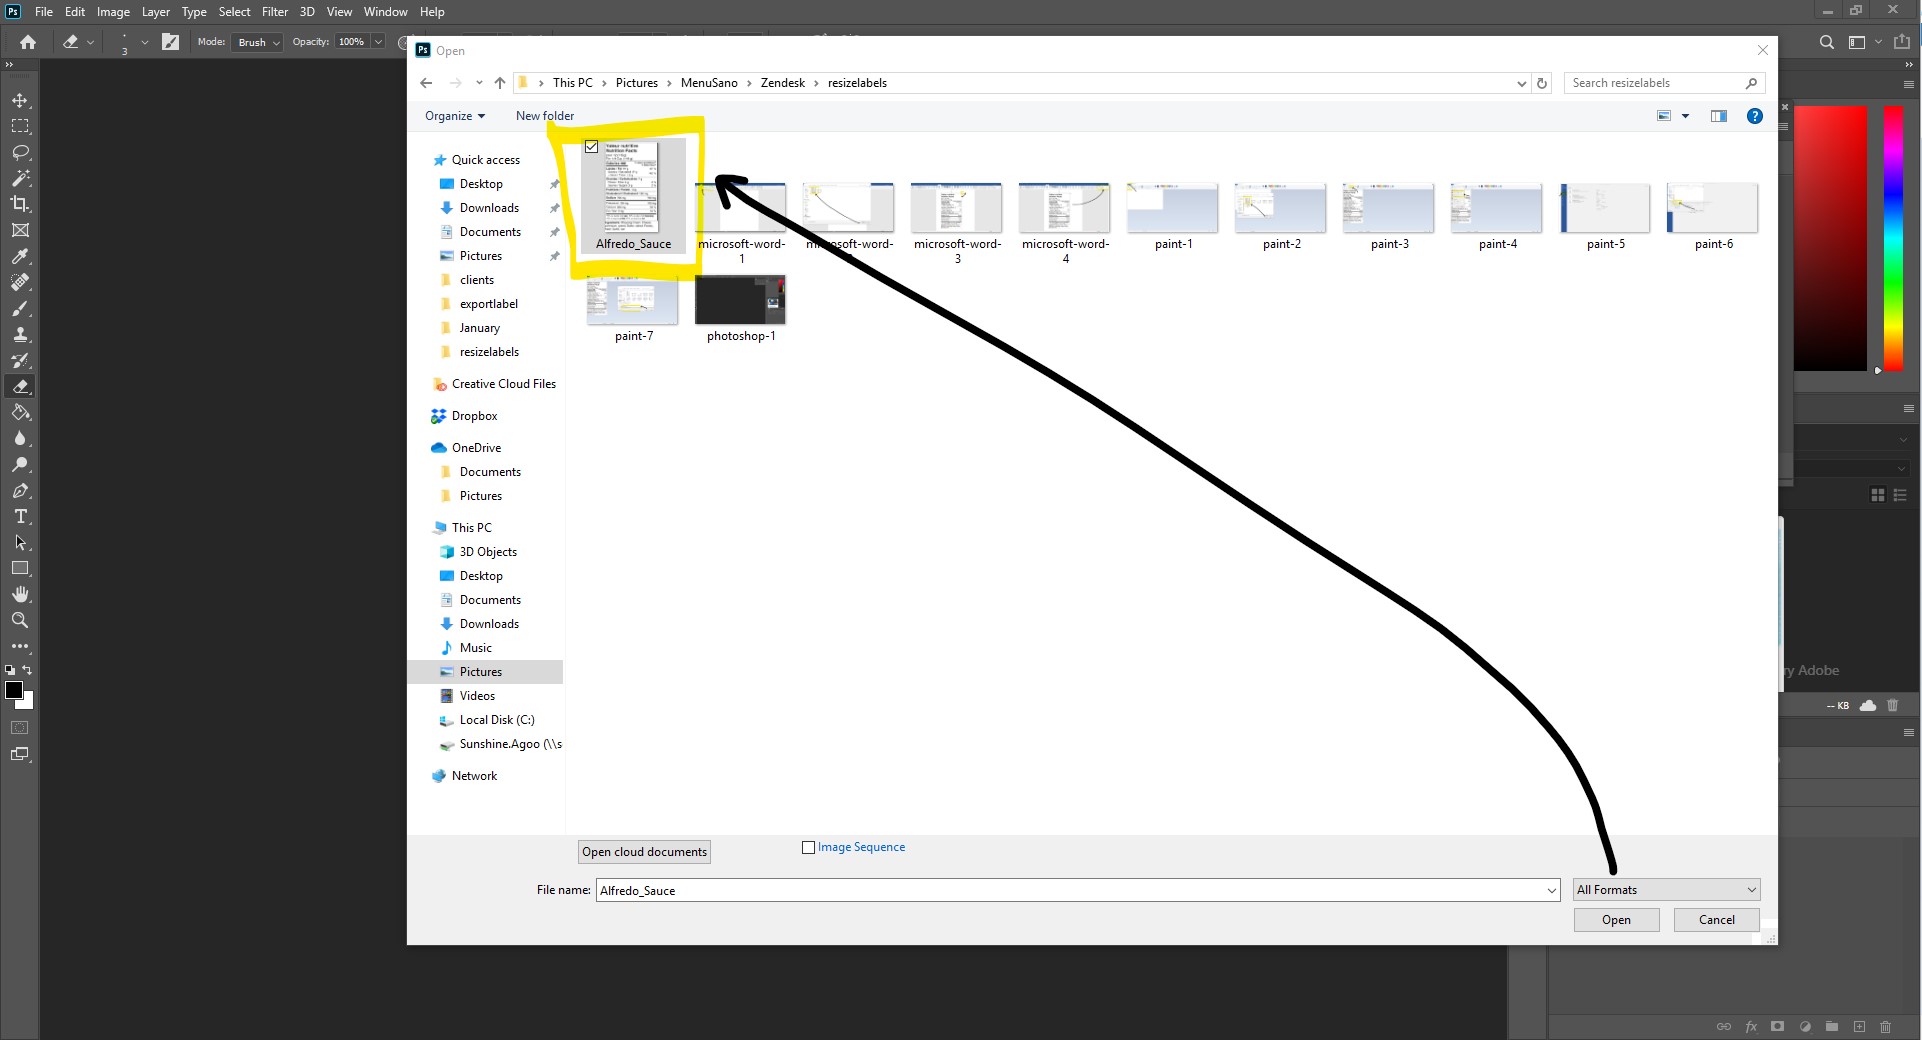
- Click on 'File' then 'Open' to view your label on Photoshop.
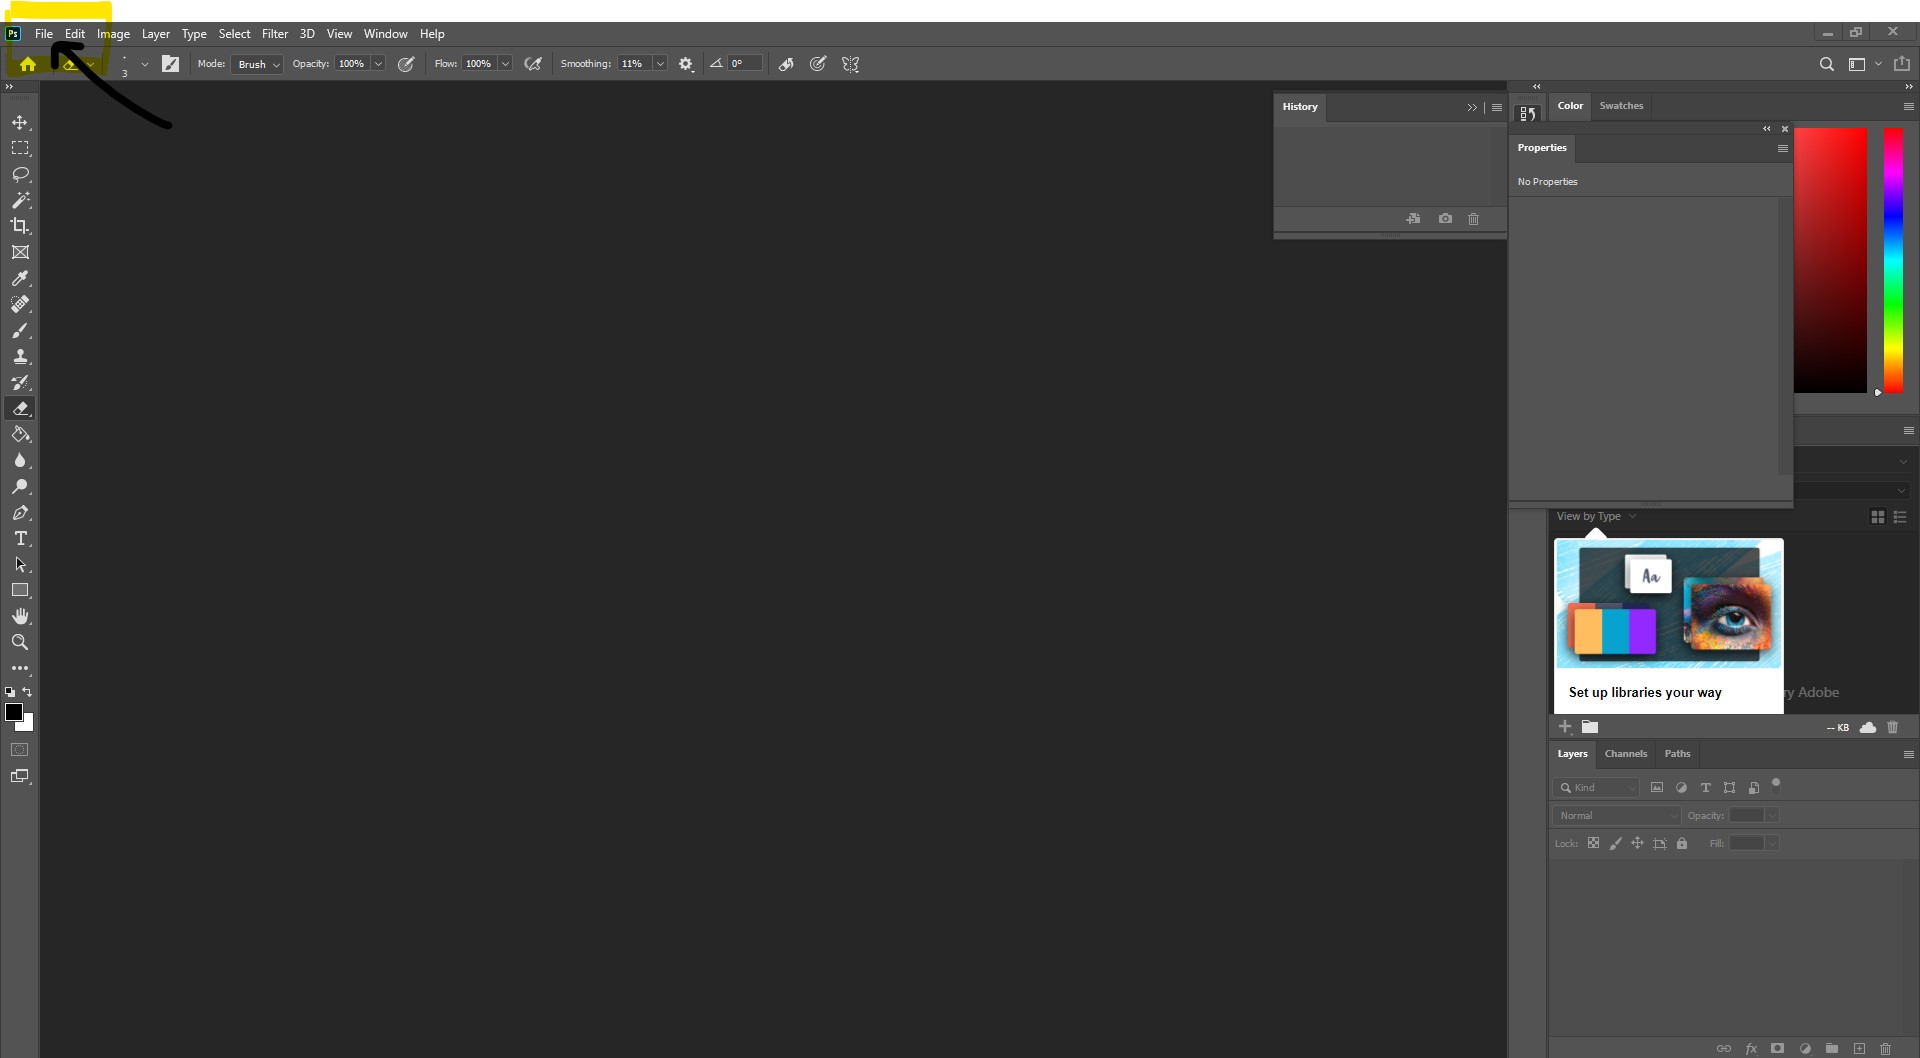
- Find your label and double-click to open it.
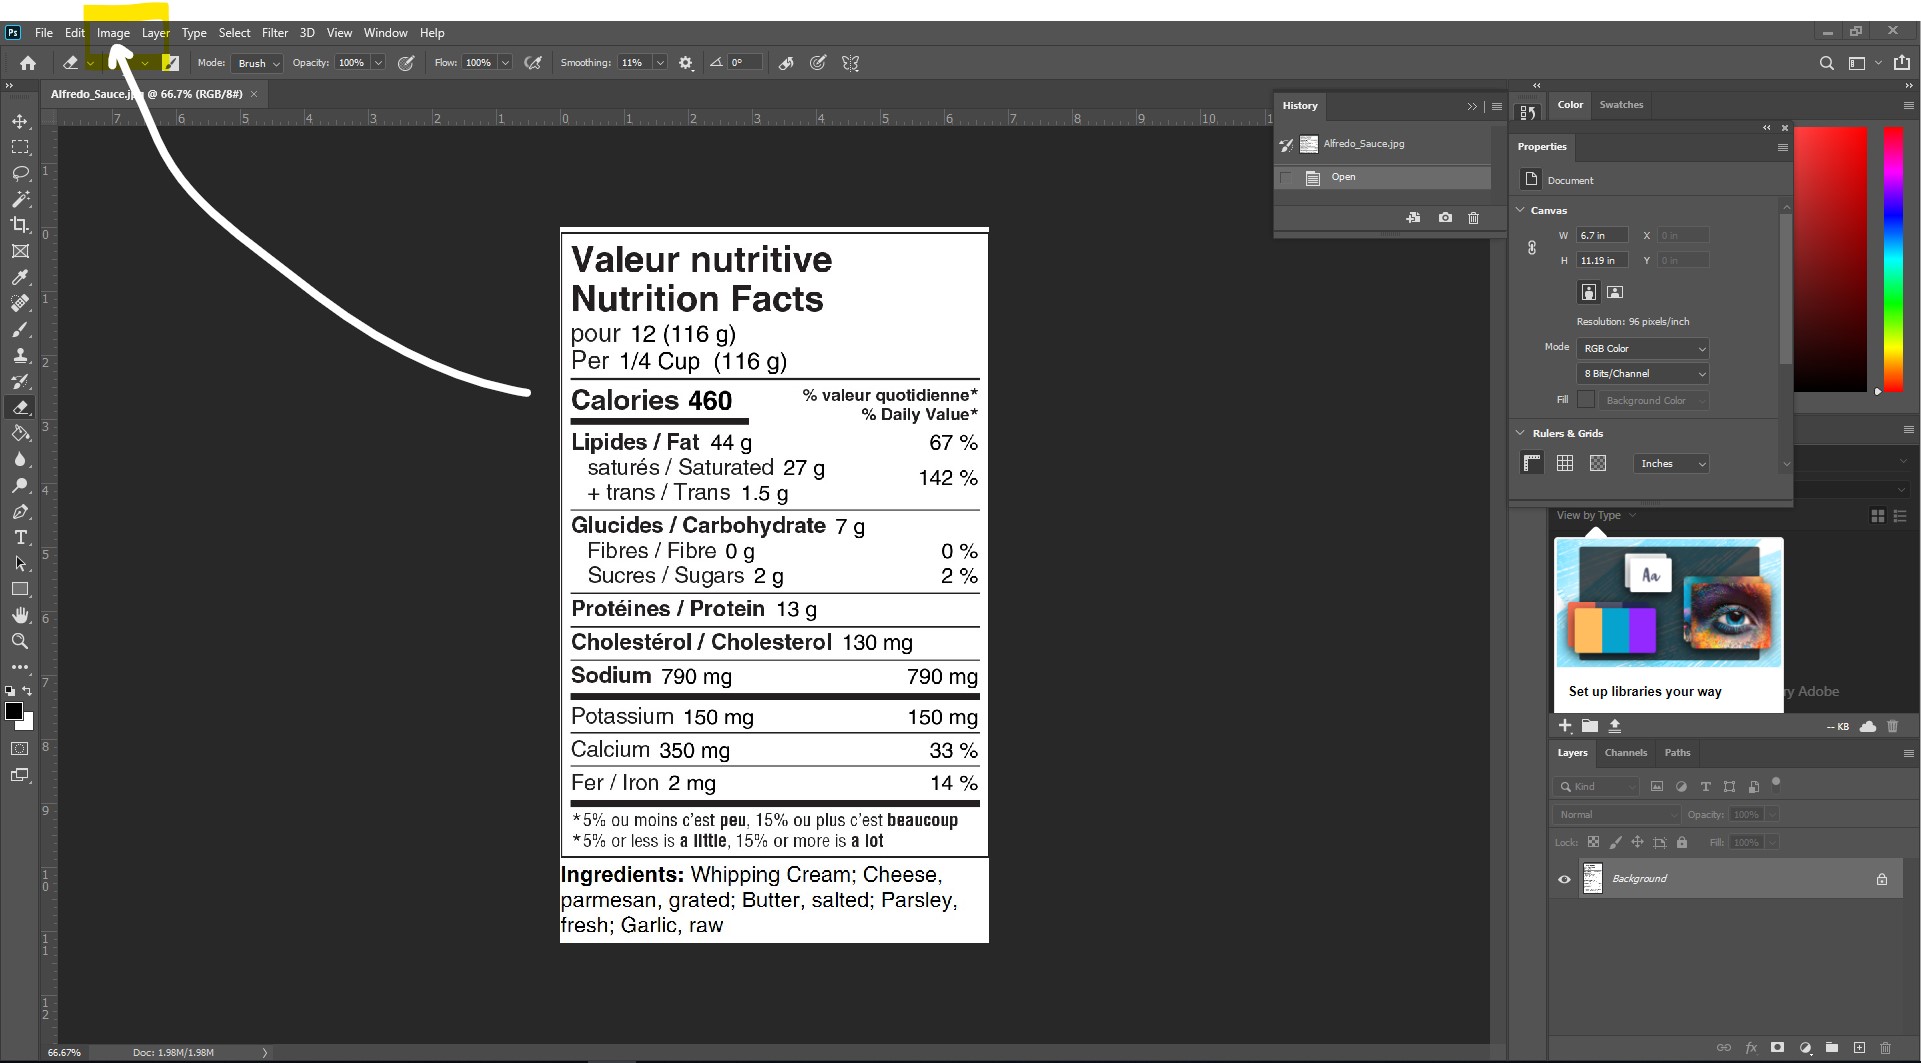
- Click on 'Image', then select 'Image Size'.
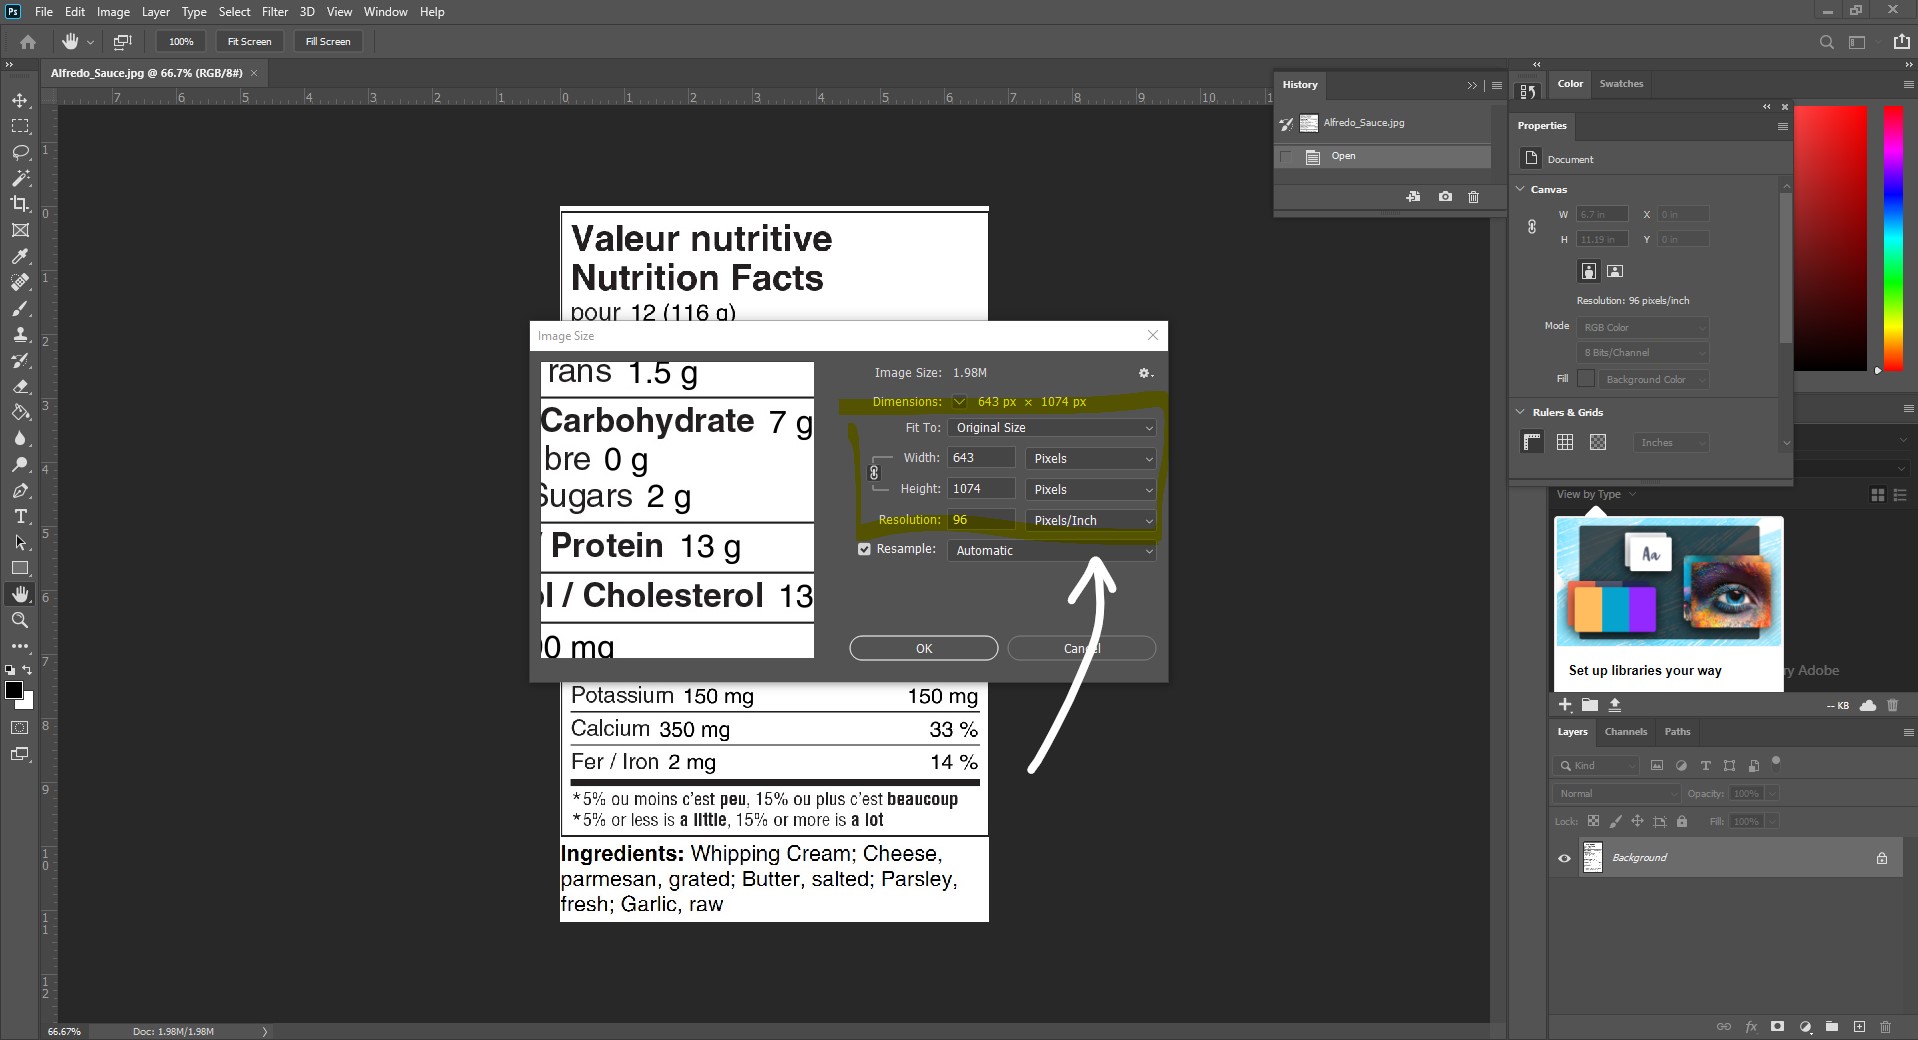
- You can change the values of the width/height of your label by Pixels, Inches, Picas, etc. Just click on the drop-down menu to display the various options. Adobe Photoshop automatically changes the height and width values in proportion to one another, so you don't have to worry about the look of your labels being skewed. Don't forget to click 'OK' to apply your changes
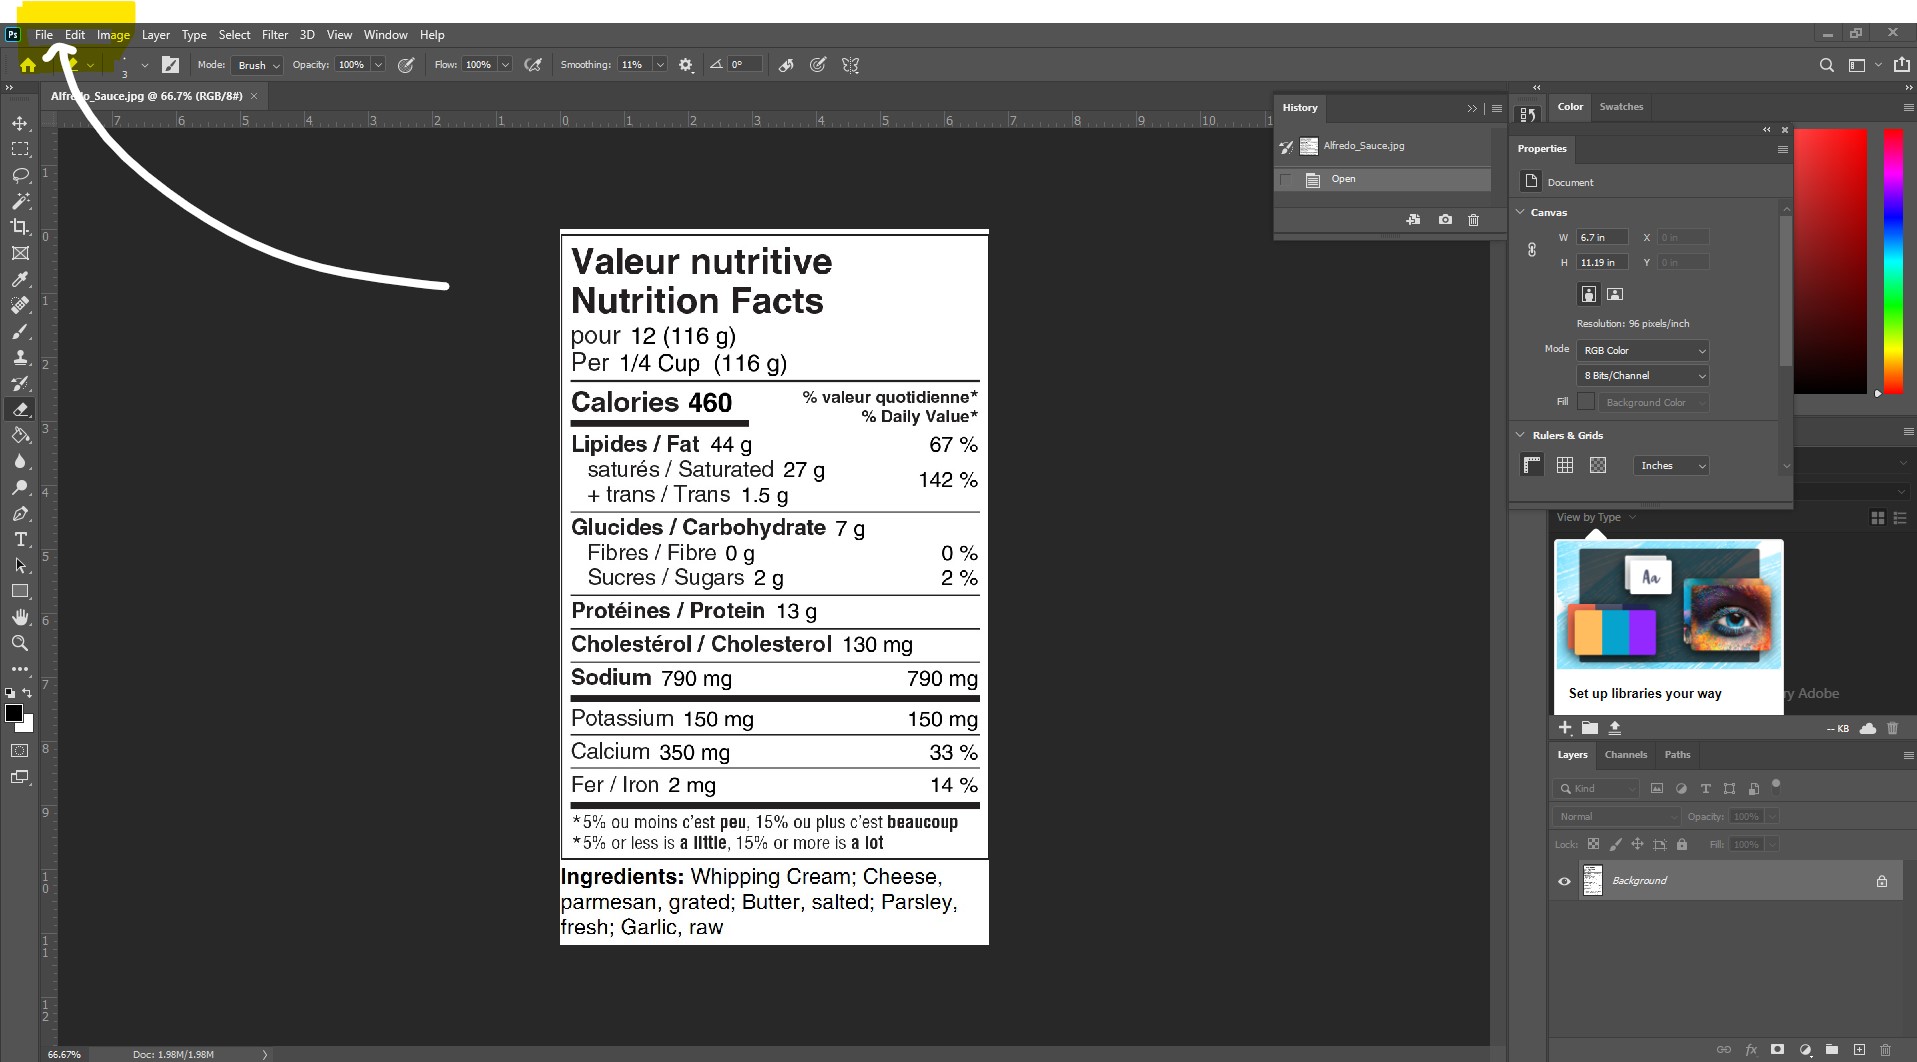
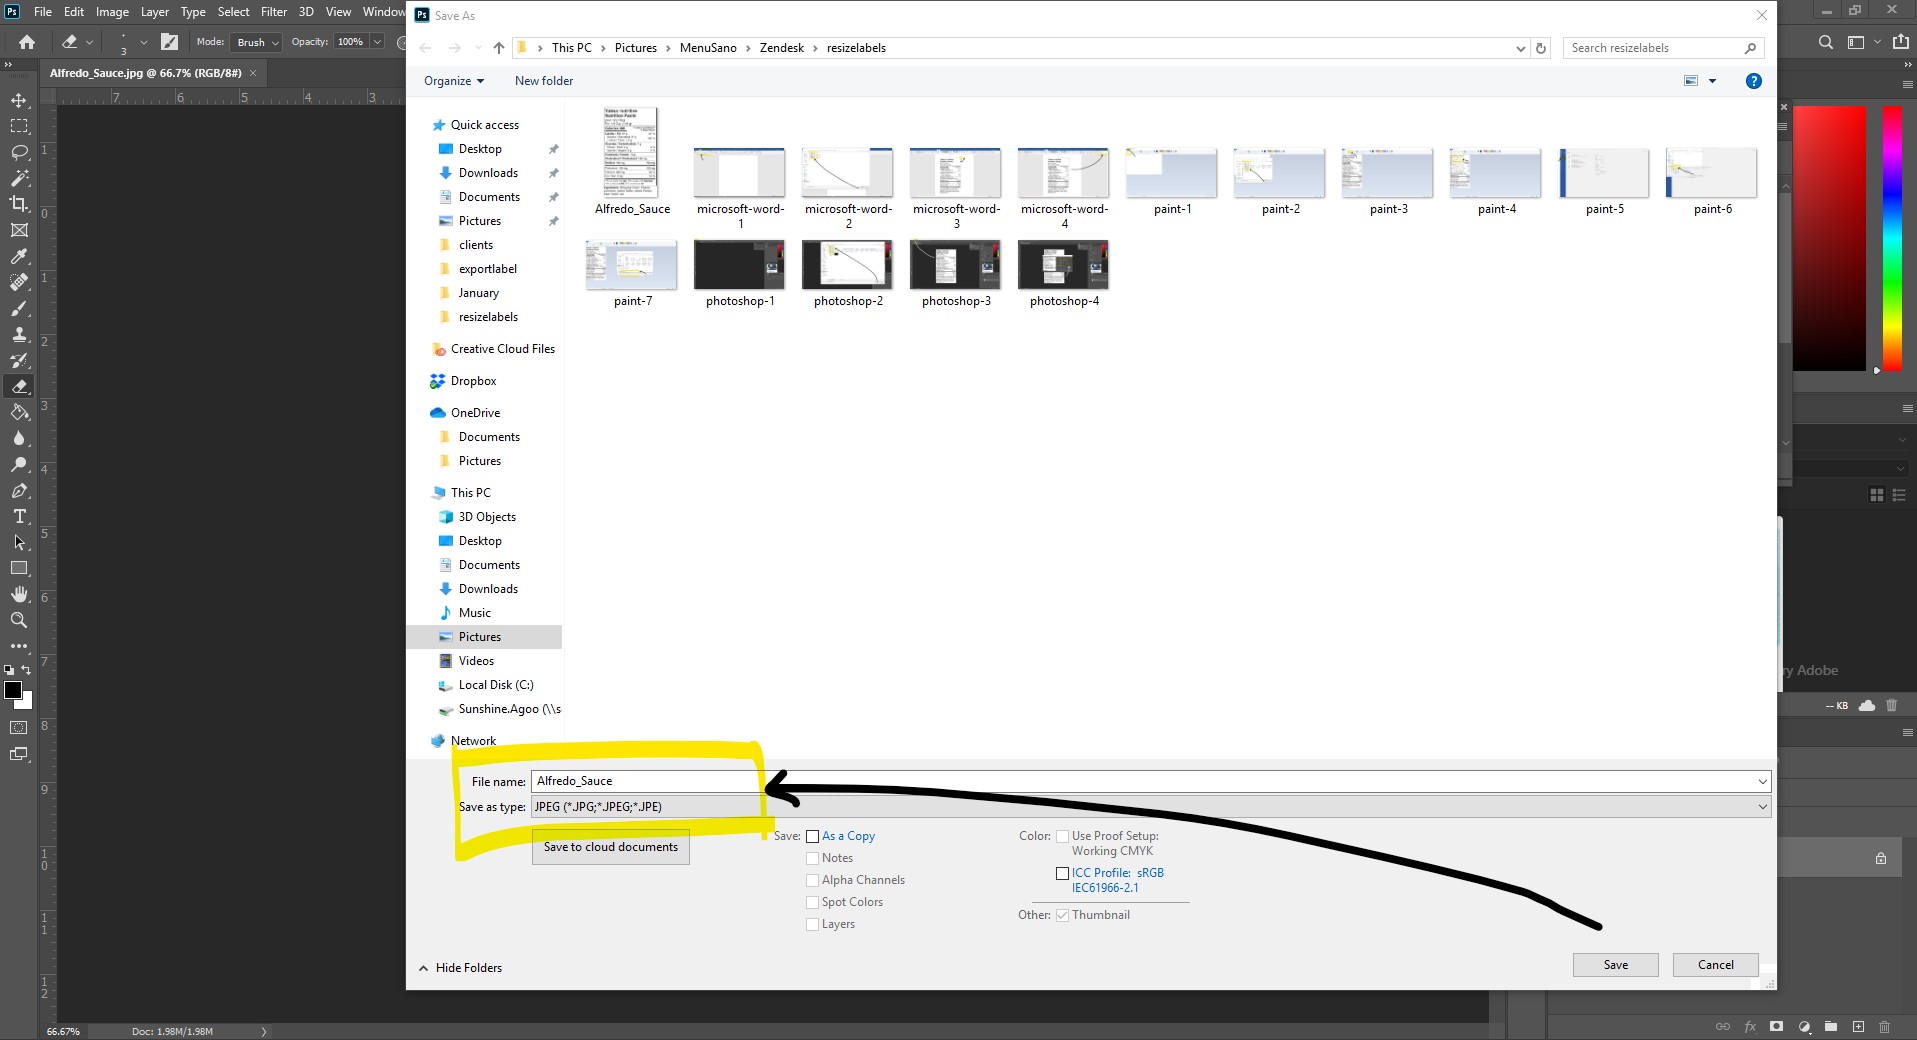
- To save your label, click on 'File' then 'Save As'.
- Choose the 'File Type' that you desire. You can also rename your label here. Don't forget to click 'Save'.
4. Free Image Resizer - BeFunky
- First, visit BeFunky's website.
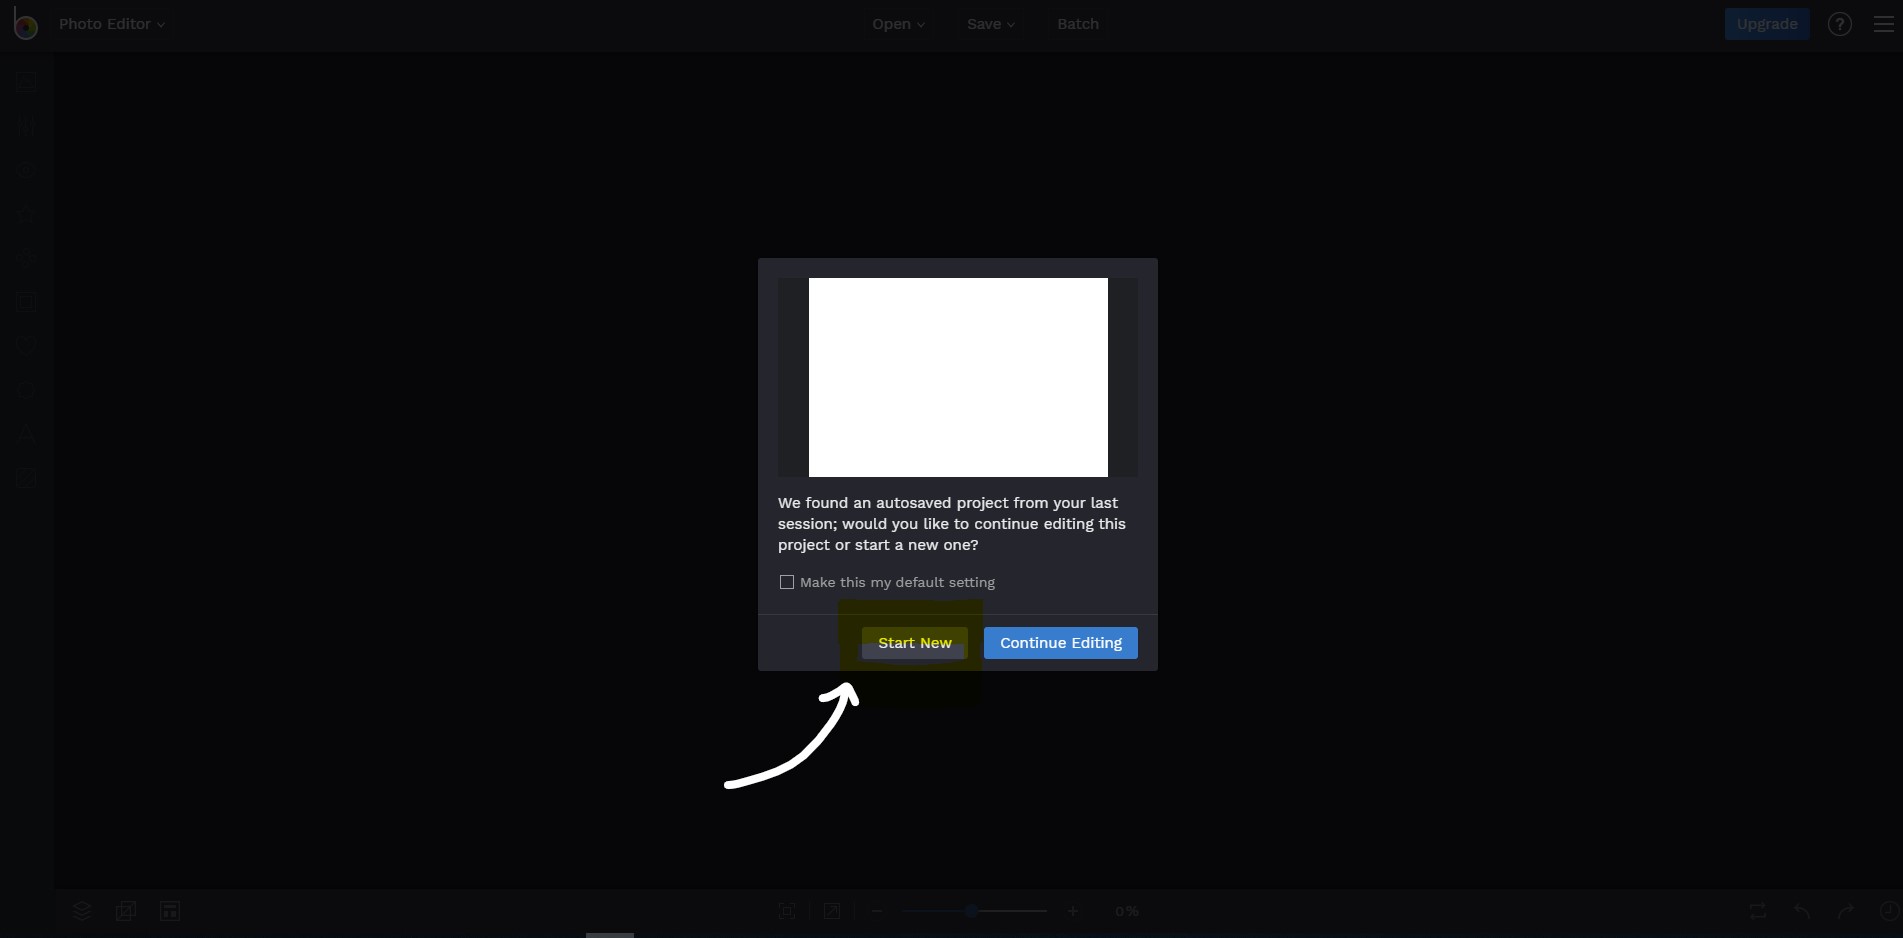
- Click on 'Start New'.
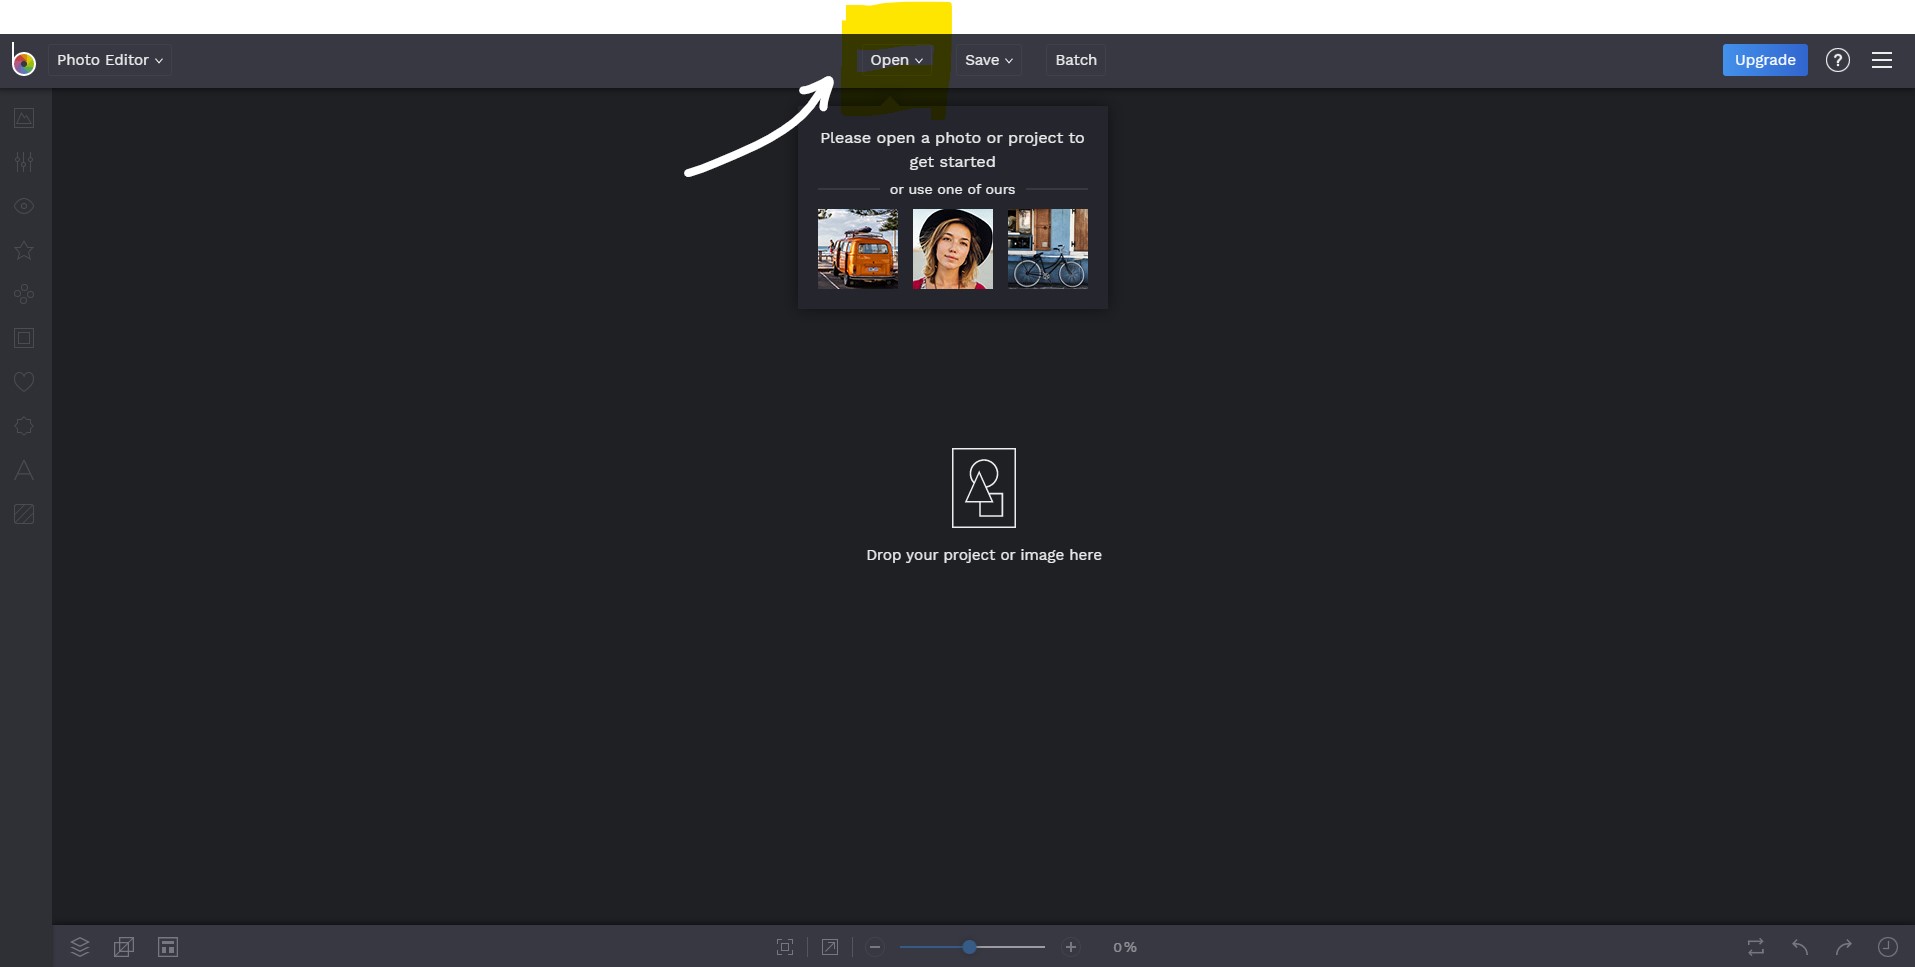
- Click 'Open', then 'My Computer'. Alternatively, you can just drop your project or image from your folder in the middle of BeFunky's empty canvas.
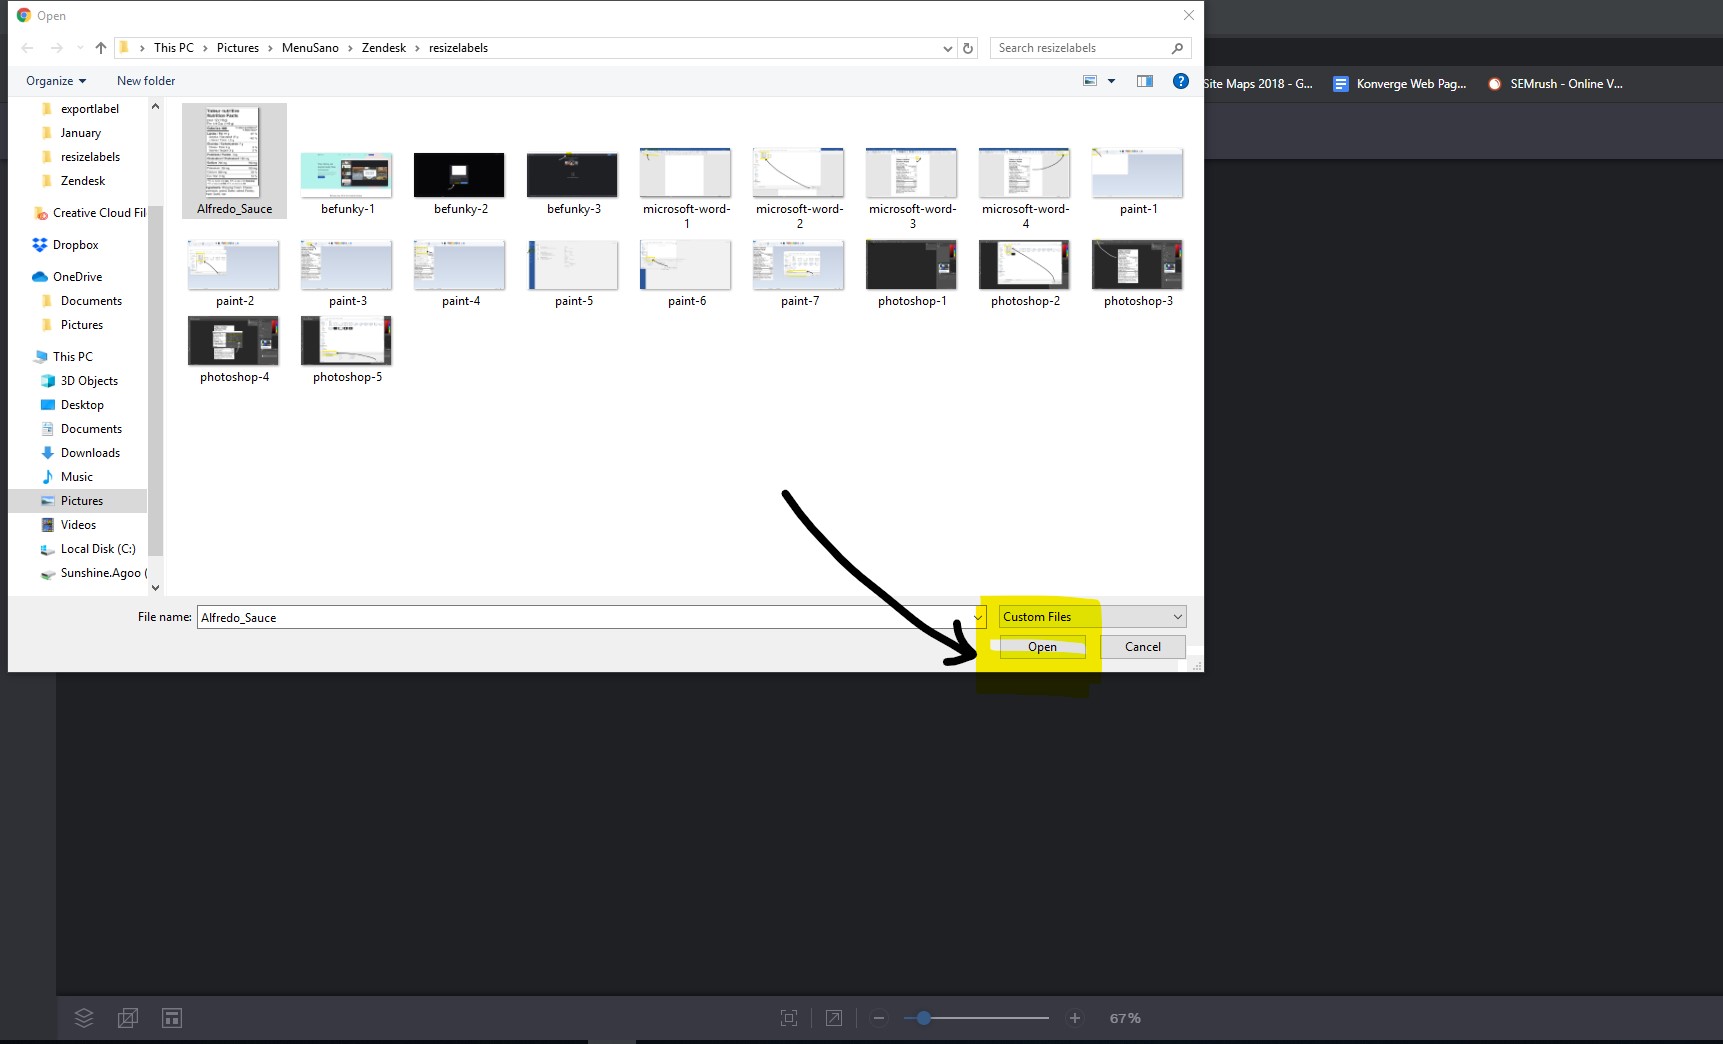
- Choose your label and click 'Open'.
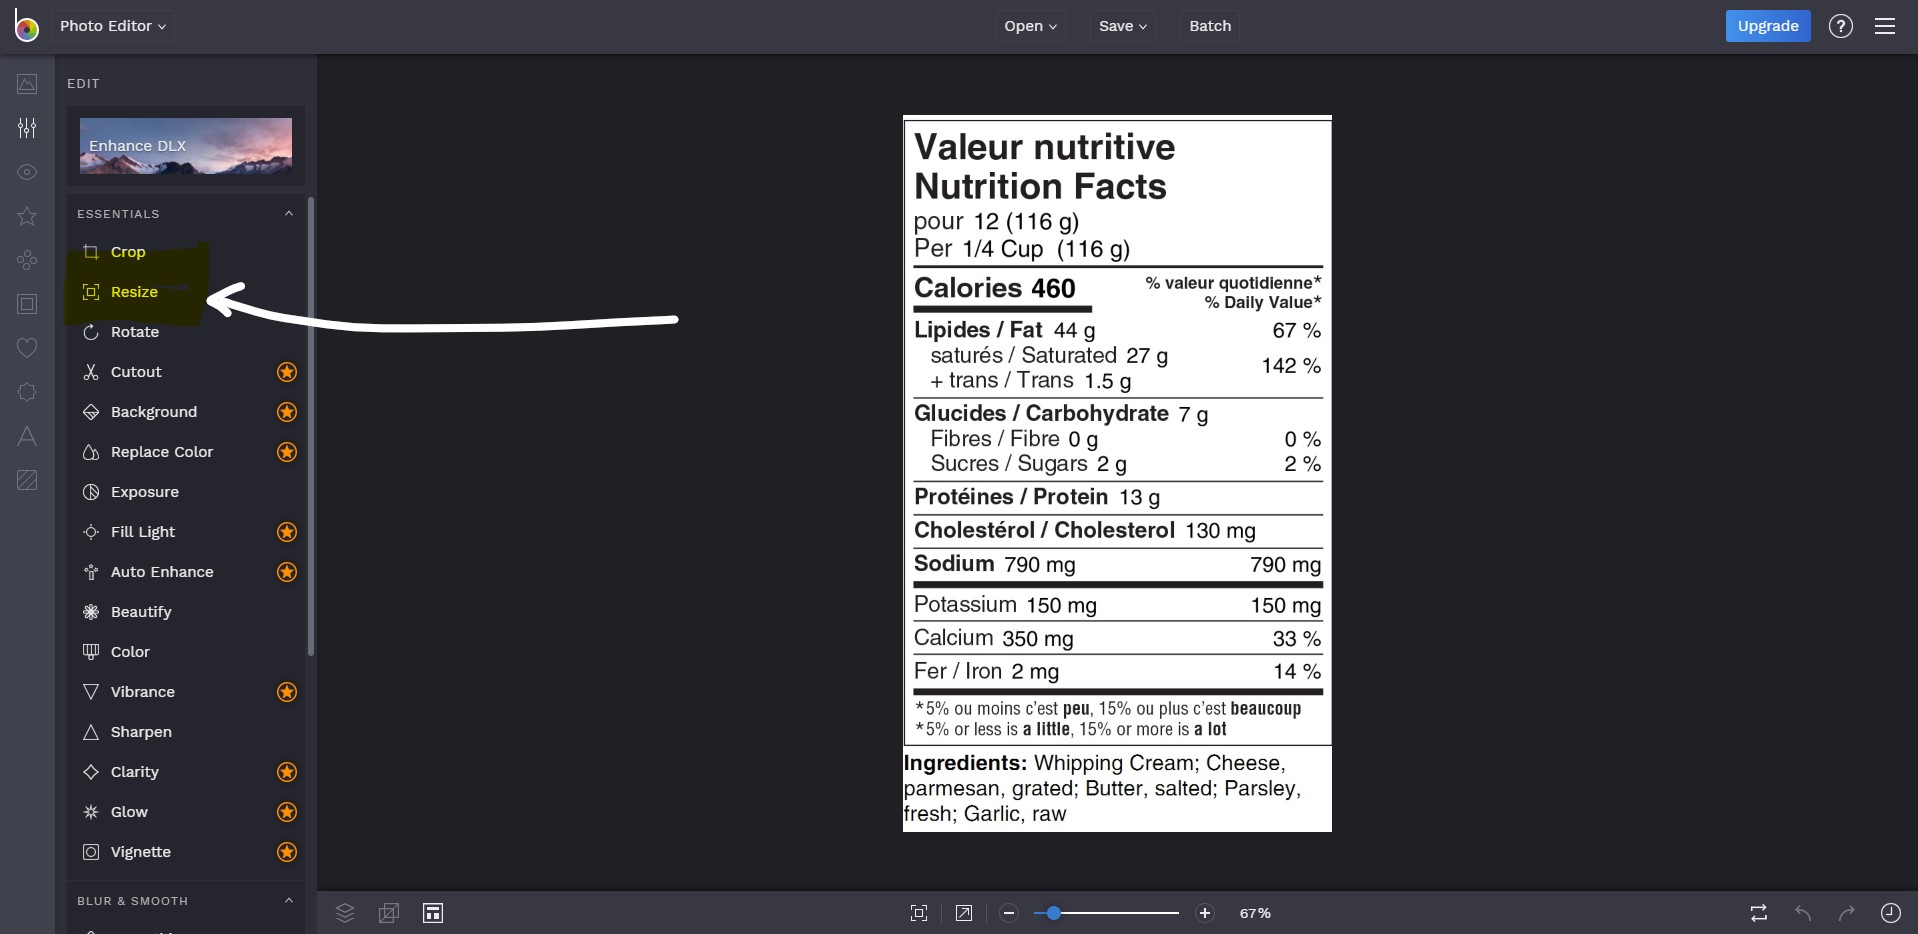
- Click on 'Resize'.
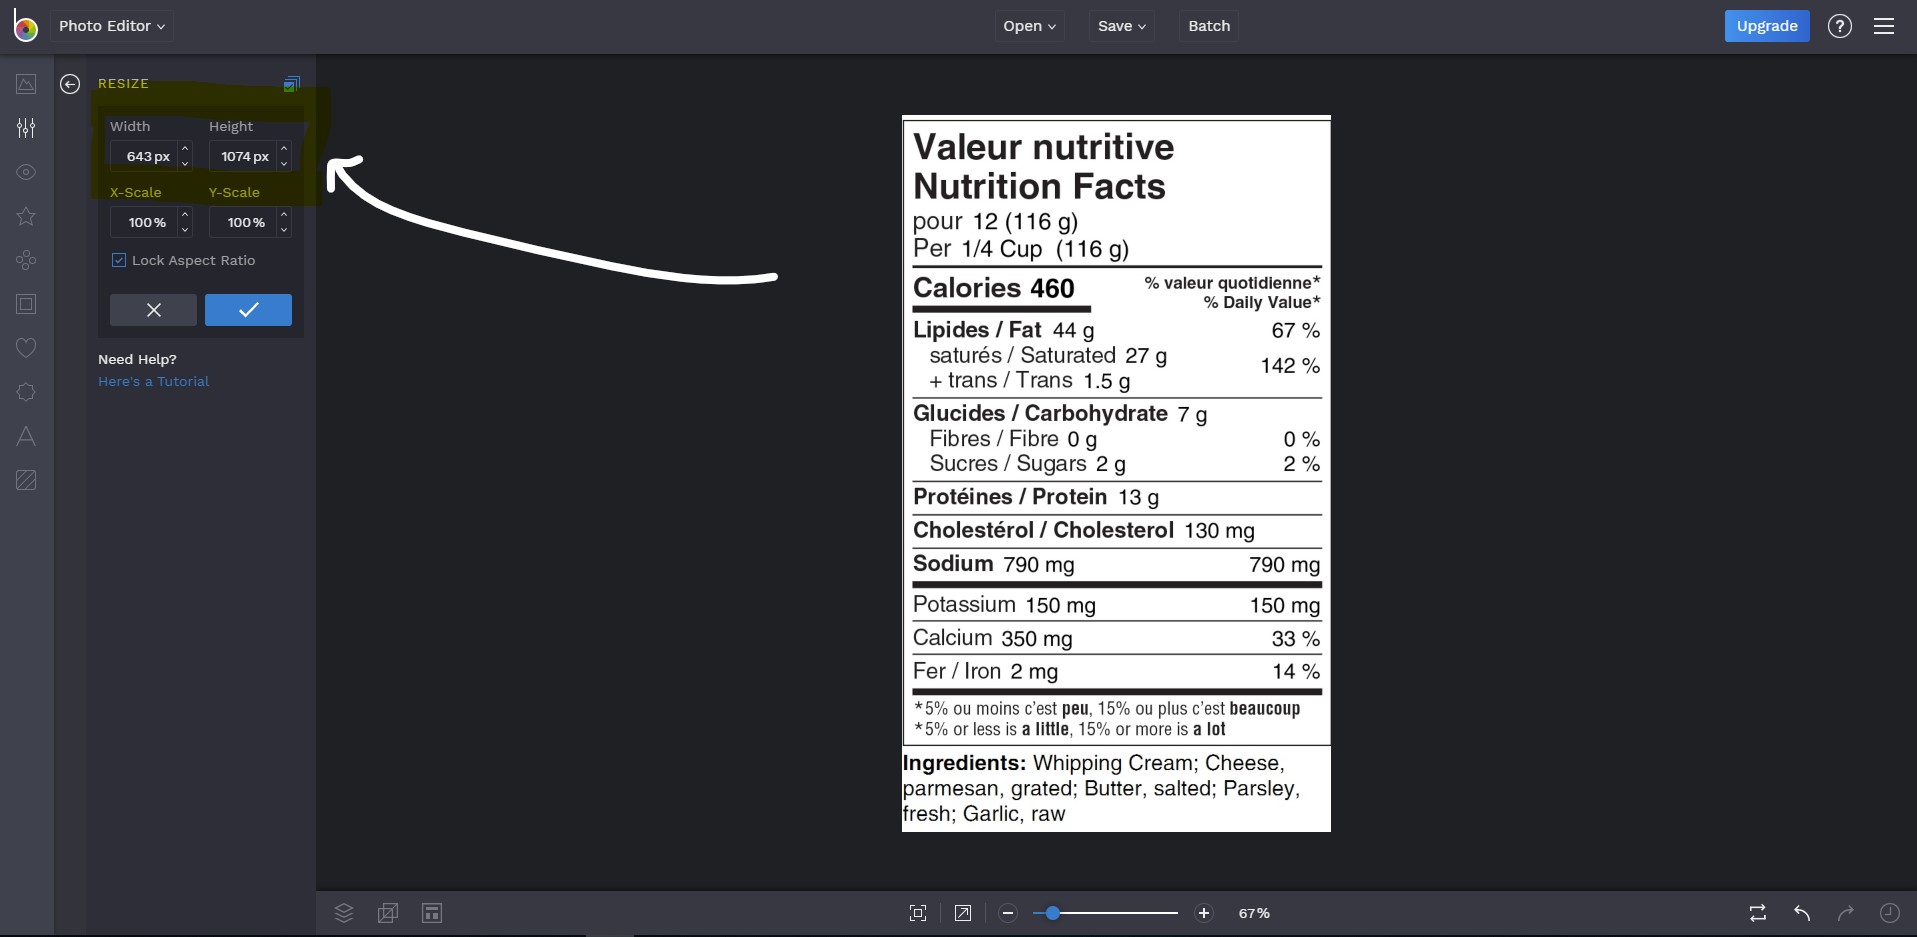
- Change the 'Width' and 'Height' accordingly and click on the check mark button to apply the changes to your label.
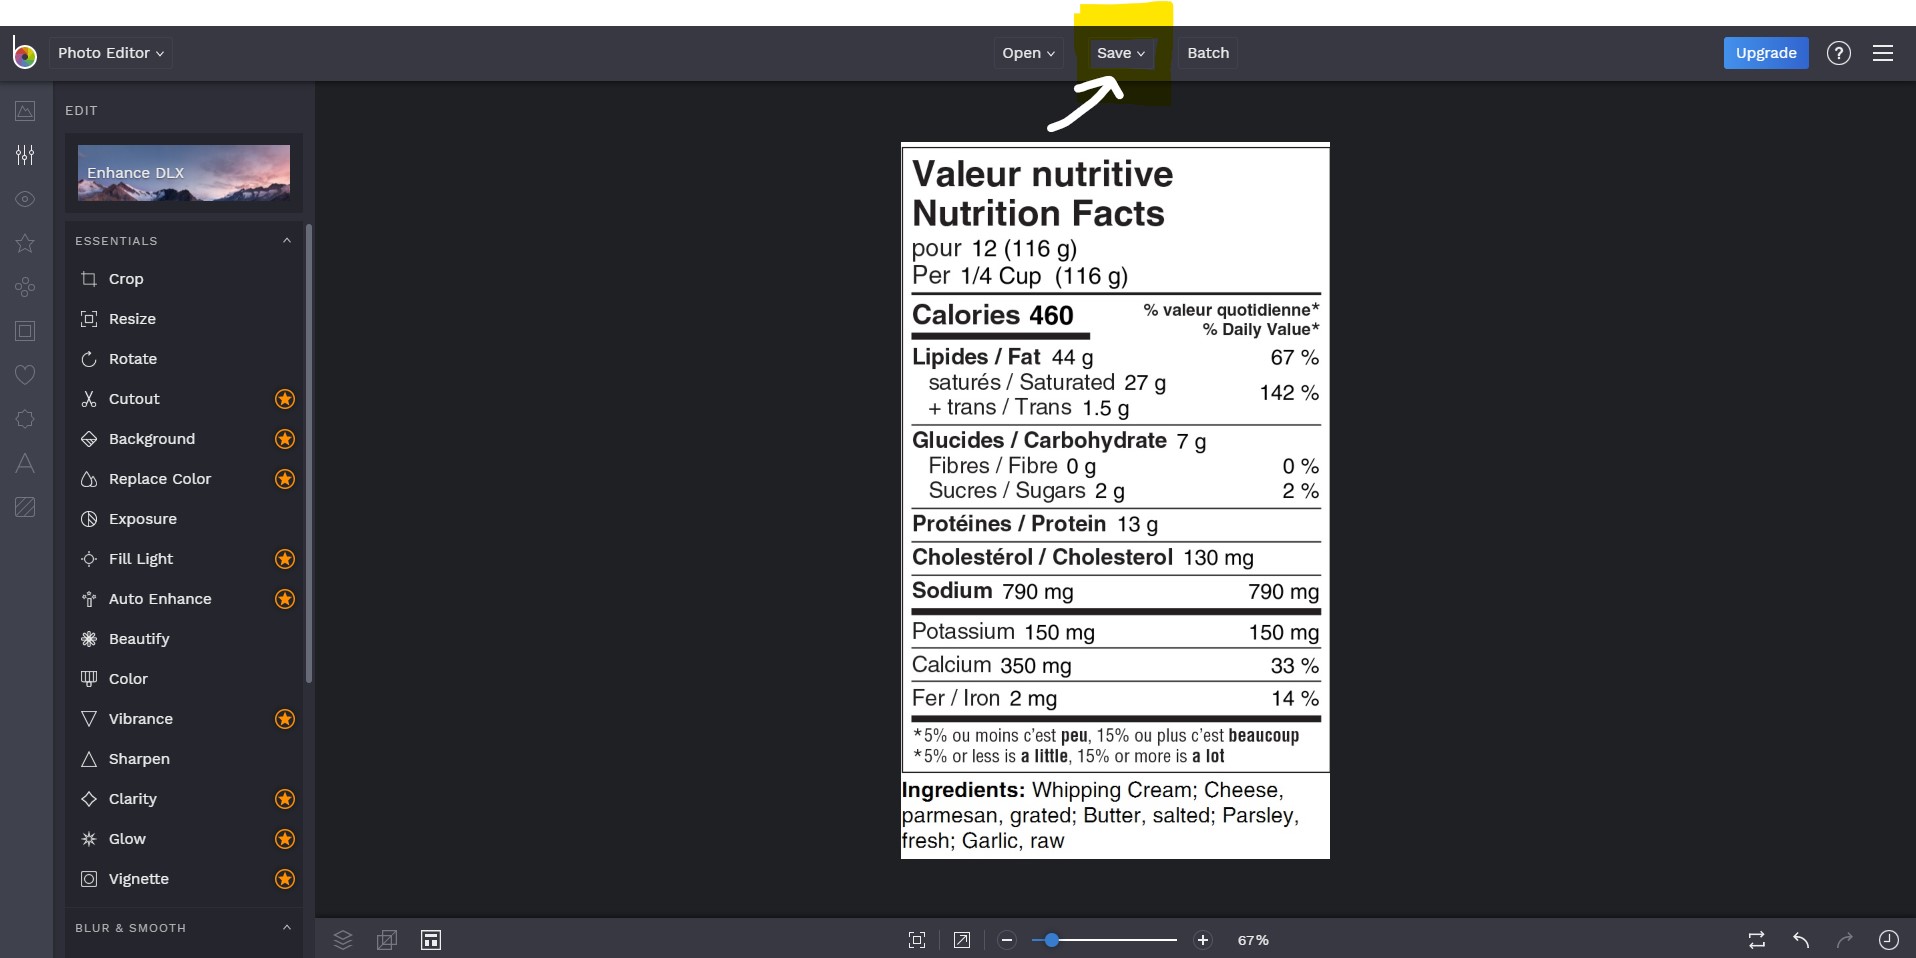
- Click 'Save', then choose 'Computer'.
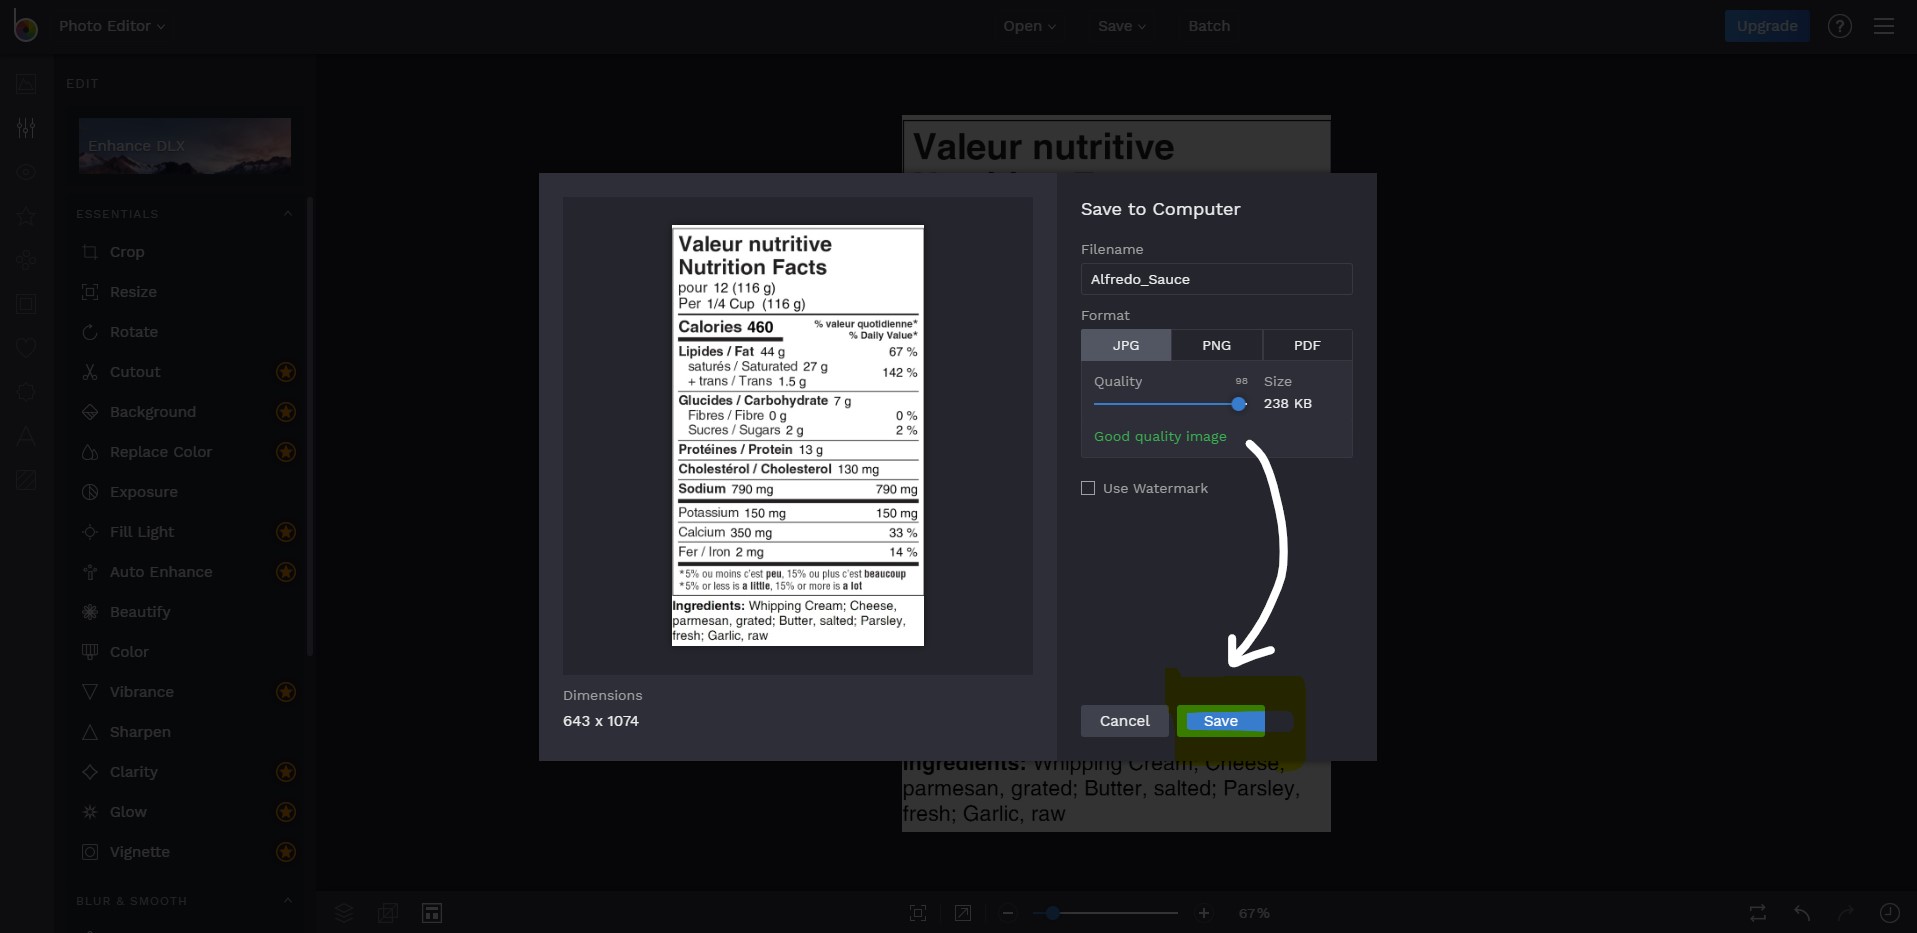
- Save your label to your computer as a JPG, PNG or PDF. You can also change the File name here. Don't forget to hit the 'Save' button.
Comments
0 comments
Please sign in to leave a comment.